Baked Pumpkin Seeds

While carving your pumpkins be sure to save the seeds so you can bake them. As you know we got a ton of pumpkins last week at the pumpkin patch! We thought that it would be a waste if we didn't use at least some of our seeds while we were carving. You can make many different flavors, but today we have four we love to munch on! They are brown sugar, ranch, cayenne, and salted seeds.

Baked Pumpkin Seeds. Click through for the tutorial.

Ingredients:

  • 4 cups pumpkin seeds
  • 1 tbsp. ranch seasoning
  • 1 tbsp. brown sugar
  • 1 tbsp. salt
  • 1/2 tbsp. cyan pepper 
  • 8 tsp. vegetable oil (2 tbsp. for each batch)

1. After you have gotten the seeds out of your pumpkin guts, rinse them off in a colander.

2. Lay the seeds out on a towel and pat dry them. Then leave them to air dry for about half an hour.

3. Divide your pumpkin seeds into four bowls. (1 cup in each bowl)

4. In your first bowl add in 2 tsp. vegetable oil. And stir until seeds seem completely covered.

5. Stir in 1 tbsp. of ranch seasoning evenly.

6. Spread out the ranch covered seeds evenly on a flat baking sheet.

7. Bake at 325 degrees for 32 minutes.

8. Let them cool for about 5 minutes. Then take them off the tray and place them in a bowl and enjoy!

9. Repeat this process for the other three seasonings, but instead of adding 1 tbsp. of ranch seasoning, replace it with the brown sugar, salt, or 1/2 tsp. cyan pepper.

Baked Pumpkin Seeds. Click through for the tutorial.

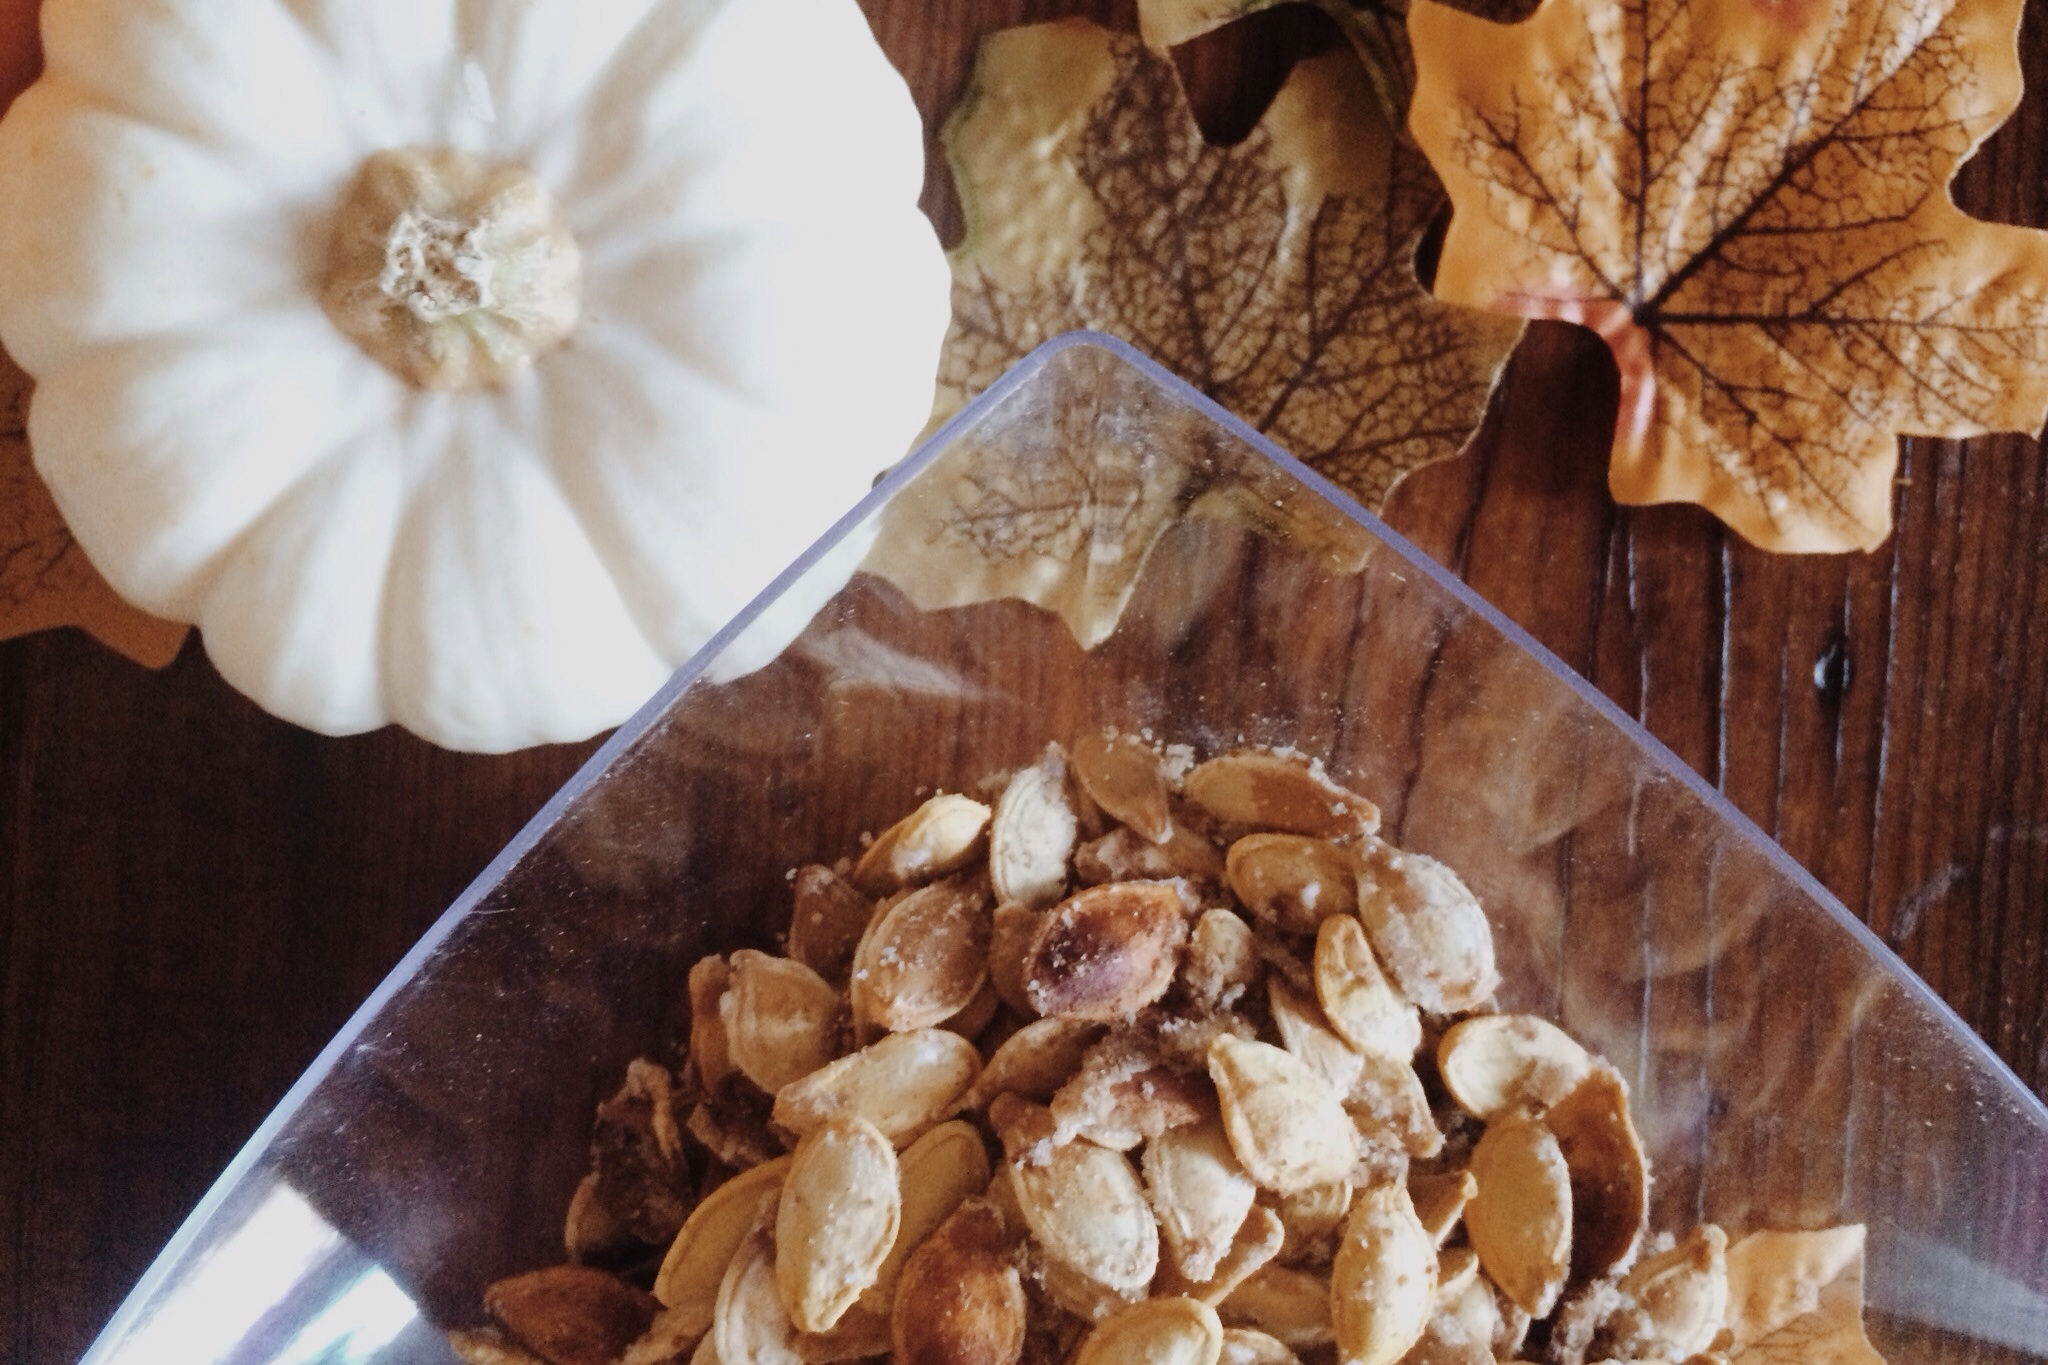
These seeds are so yummy and would be great for a Halloween party or even just an everyday Fall snack! We hope you enjoy!

xoxo

Britt + Sky

Blueberry Layer Cake

When planning the brunch, we were trying to come up with something that we could make that would be a breakfast type food, but also double as a birthday cake. What kind of birthday celebration doesn't have a cake? Huh?

yummy blueberry layer cake

So we decided to make a naked, layered cake, using blueberry muffin batter and cream cheese frosting. Being busy girls we decided to take the easy way out and use muffin mix that we bought at the store and a can of frosting. Yes it probably taken the taste up a notch by making homemade recipes for both, but let's be honest ... ain't nobody got time for that! :)

yummy blueberry layer cake

If you go the easier route like us, here's what you need:

  • muffin mix
  • non-stick spray
  • cream cheese frosting
  • circle cutter
  • baking pan
  • knife

Here's what you do:

  1. Using the directions on your package, preheat your oven and prepare the blueberry muffins mix. 
  2. Spray your pans.
  3. Pour the mix in your pans. Let them sit for a few minutes so the mix evens out in the pan.
  4. For bake times, because you don't want to over cook, we suggest checking your muffin layer with a toothpick every 5-7 minutes.
  5. Once they are golden brown and the toothpick comes out cleanly, remove the pan from the oven and allow it to cool for about a half hour or so.
  6. Taking your circle cutter, try to cut as many circles from your pan of muffins that you can.
  7. Lay down your first layer of muffin.
  8. Using a knife, spread the icing on, then stack a layer of muffin on top of that.
  9. Repeat until you have as many layers as you want. 
  10. Eat up!! :)
yummy blueberry layer cake
image.jpg

Want s'more?

As much as we've already told you we love donuts, we love s'mores just as much! So in honor of National S'mores Day (8/10), we decided to bring you an awesome combo of those two things!

Delicious s'more donuts recipe || from myonlysunshineblog

We started off using this recipe that we recently found to make our chocolate donuts.

We have a donut pan that we put our batter into. (If you prefer to make the donut holes you can just use a mini muffin pan, like it lists on the recipe.) To make it easy we spooned our batter into a gallon plastic baggie and cut off one corner to squeeze the batter into the pan. This gives you better control of how much goes into the pan and helps keep the batter smooth in the pan.

Once we our donuts cooling on the rack, we started on our marshmallow glaze.

  • 2 cups of regular sized marshmallows
  • 1/4 cup of water
  • 1 cup of powdered sugar

Melt these ingredients together in a sauce pan stirring often so they don't burn. After they melt and you have mixed them together well, take the pan off of the burner to cool. Once it has cooled a little, you can start dipping your donuts in the glaze. Place them on the back on the cooling rack and sprinkle them with crushed graham crackers. Then of course, make you a cup of milk, and eat up!! :)

IMG_0065.jpg
IMG_0049.jpg

We hope you love the recipe! Let us know how you are going to celebrate National S'mores Day! Take a photo on instagram and be sure to tag us. xo,  Britt + Sky

Homemade Baby Food - Sweet Potatoes & Green Beans

Even before my little man was born I knew that I wanted to make his baby food. Or at least attempt it. I really liked the idea of knowing exactly what he was eating and it is a much cheaper option. Most recently I have made sweet potatoes and green beans. It is so easy and just takes a little bit of time and you can make so much food.

I bought 2 small sweet potatoes (I didn't want to cook too many if Noah wasn't a fan) for $2.60, which made me 18 servings. I also bought 2 lbs of green beans for $4.00, which made me around 36 servings. As you can see a little goes a long way when it comes to the veggies. If I would have paid the same amount for store bought food, I would not have got nearly the same amount.

homemade babyfood - myonlysunshineblog

To make the sweet potatoes, I just peeled them, chopped them up, and boiled them until tender. Next, I drained them and let them cool for a few minutes. After cooling I placed them into the food processor and blended them, adding water to help blend them, until I was happy with the consistency.

Next I put scooped them into a gallon sized plastic baggie. I cut one of the bottom tips off of the bag and used it like an icing bag. I just filled each compartment of the ice-cube tray to the amount I wanted and moved to the next. I find that it's the easiest and quickest way to fill up the trays. When I try using a spoon, I end of with a huge mess.

Once I filled the tray with the sweet potatoes, I place them in the freezer. After they were completely frozen, I put them into labeled gallon freezer bags. They will keep for approximately three months in the freezer.

homemade baby food  myonlysunshineblog

To make the green beans, rinsed them, cut off the ends, and boiled until tender. Once I thought that they were ready, I drained them and let them cool for a few minutes. After cooling I placed them into the food processor and blended them, adding water to help blend them, until I was happy with the consistency.

I did the same thing with these as I did the sweet potatoes. I placed them in the gallon plastic bag to make it easier to put them in the ice-cube trays.

Once the trays were filled, I place them in the freezer. After they were completely frozen, I put them into labeled gallon freezer bags. They will keep for approximately three months in the freezer.

homemade baby food  myonlysunshineblog
homemade babyfood - myonlysunshineblog
homemade baby food  myonlysunshineblog

When it comes time for Noah to eat, I just take out my desired number of cubes and pop them into the microwave for about 20 seconds or until they are warm (always test the temperature before feeding them to your little one). And if your little one is anything like mine, they will have the food all over them before you are done. Noah is notorious for ending up with food up his nose ... don't ask :)

You should definitely give making your own baby food a try. It's a really good feeling, knowing that you have prepared what your little one is eating and you know exactly whats in it. Plus it's a lot easier on your wallet when you go to get their food. 

Make sure if you are making your own baby food to let us know what you're trying and how it's going for you. We'd love to hear. xo, Britt