DIY Fourth of July Snack Cups

Incorporating red, white, and blue into your decor and party supplies can be simple and fun. And it doesn't have to cost a lot of money. 

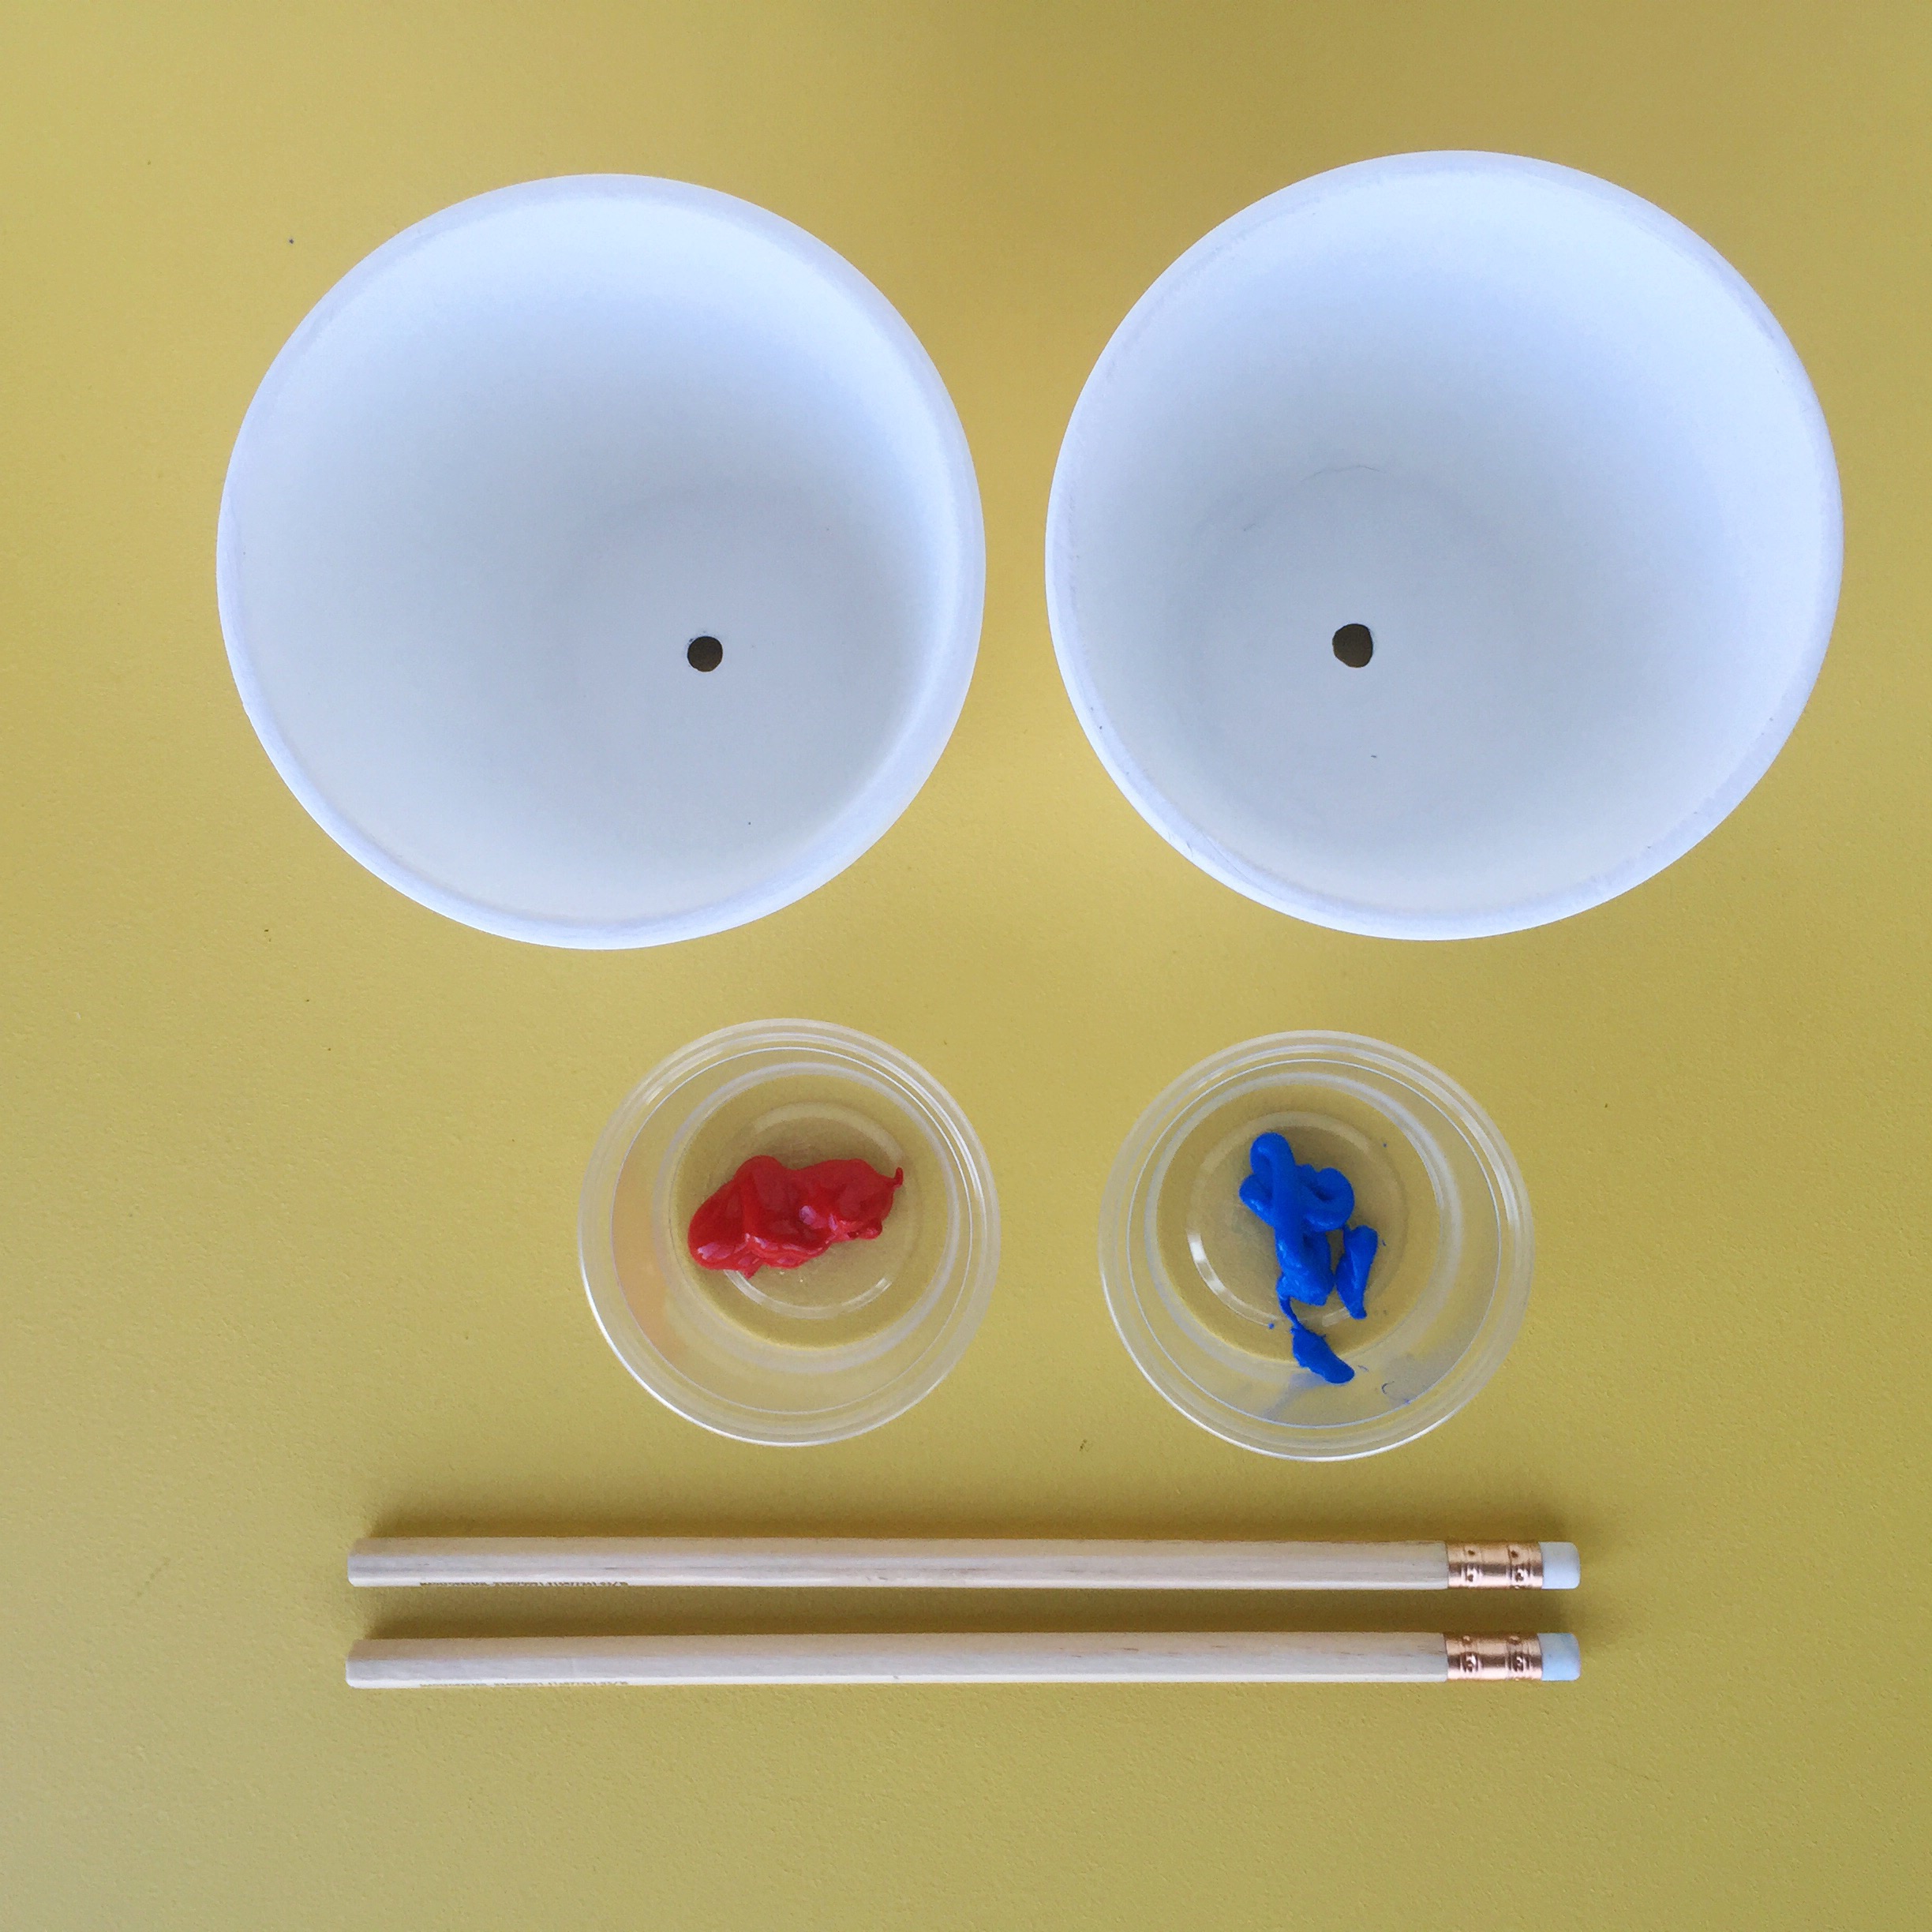
I had these plain white snack cups in my party supplies so I decided to dress them up to use for our Fourth of July get-together. 

DIY Fourth of July Snack Cups

Using a pencil, paint, and letter stickers, I turned plain white snack cups into festive fun snack cups. 

DIY Fourth of July Snack Cups

First I placed the letter stickers on the cup. Using the pencil's eraser, I coved the cup with red and blue dots. 

Be sure to let the paint dry completely before using. If not it could be very messy. 

DIY Fourth of July Snack Cups

I decided they would be perfect for ice cream, but you could use them for any snack.  What snacks will you be serving at your Fourth of July get-together? xo Britt

DIY Fourth of July Snack Cups

DIY Red, White, + Blue Pinwheel Decoration

Red, white, blue just screams summer to me. And since I decided that I am going to make a few decorations for the fourth this year, I decided to come up with a fun craft that Noah could help with and will love seeing. 

Plus this craft was made made from items from the Dollar Tree (other than the paint). I told you it was my favorite. So the project only costs about $5. 

DIY Red, White, and Blue Pinwheel Decoration

Supplies:

  • flower pots
  • styrofoam block
  • glue
  • paint
  • paintbrush
  • pinwheels
  • packing paper
  • pencil
DIY Red, White, and Blue Pinwheel Decoration

First I painted the two flower pots white. It took two coats. Once that dried, using the eraser on my pencil, I dotted one pot with red dots and one with blue. Then I let them dry.

Next I glued an inch and a half square piece of styrofoam in the bottom of the pots. Noah helped me place in red and blue paper in the matching pots. After I cut some excess length form the pinwheels, Noah placed one in each pot. 

DIY Red, White, and Blue Pinwheel Decoration

I love how simple, but fun they are. They are perfect for decorating for your Fourth of July party or just having out for the summer. xo Britt

DIY Red, White, and Blue Pinwheel Decoration

Simple DIY Gem Frame

I love me some super simple DIYs!
I was going to get rid of this frame, but I decided to add a little spray paint and give it new life. And I am so glad that I did.  

Simple DIY Gem Frame

Supplies: 

  • frame
  • gems
  • glue
  • spraypaint (optional) 
Simple DIY Gem Frame

Using some glue and gems that I had in my craft supplies, I dressed up this little frame.  I didn't really have a plan. I just started putting the gems on randomly until I had a design that I loved.

Simple DIY Gem Frame

This looks so adorable in Sophie's room! I am so happy that I decided to not get rid of it! xo Britt

DIY Mini Splatter Paint Shoes

You know how when I made the mini name bracelets, I said that everything was extra cute when it was tiny? Well I wasn't lying. 

Check out these little splatter paint shoes! 

DIY mini splatter paint shoes.

I have had this little pair of shoes since Noah was a baby. He wore them one time and then his little chunky feet grew too thick for them to fit anymore. I had put them in Sophie's Shoe drawer before she was even born, knowing that someday she would fit into them. 

I was going through her shoes the other day and I saw them again. I got this crazy idea that I should do something fun with them. And for some reason splatter paint popped in my head. I am still not too sure how my brain works, but I decided to go with it. 

DIY mini splatter paint shoes.

Supplies:

  • shoes
  • paint
  • paint brushes
  • tape
  • newspaper
DIY mini splatter paint shoes.

I taped around the soles of the shoes, as to not get paint all over (that was actually the hardest part and it took the longest). I placed some newspaper down and went to splattering.

DIY mini splatter paint shoes.

I put an ample amount of paint on my brush and then used another brush to tap the paint off. I did a few practice splatters on my news paper to get the hang of it before I went crazy on the shoes.y

I think the pink adds a fun and girly touch to the otherwise neutral shoes. I love how they turned out + I hope you do too! xo Britt 

DIY mini splatter paint shoes.

Clock DIY - IKEA Hack

I have been wanting to share my new gallery wall for a while now. But there was something missing. And I finally got it finished. I really wanted to find a cute clock to complete my wall. 

image.jpg

Being the bargain hunter that I am. I decided to go with this $1.99 clock from IKEA.

image.jpg

I knew that it was going to need some work to be ready for my wall, but I was up for the challenge.
Here is what you need to complete the clock:

- clock
- spray paint
- card stock or chipboard
- glue

image.jpg

Here's what I did:

1. I took the plastic cover off the front of the clock and taped off the hands.

2. Then Jake spray painted the entire thing white for me.

3. Using the plastic cover, I traced a circle on chipboard.

image.jpg

4. Next I cut the circle in half and made a small notch for the hands with a hole punch.

5. Lastly I taped the chipboard evenly in the clock.

I like the fact that it is super clean and simple. And a fun part is that you can customize this with any color to fit your room. You can also add numbers or ticks if that would help you know what time it is. :) To accomplish the look that I was aiming for I decided to leave the numbers off.

Happy Thursday lovelies! xo, Britt