
It's fun to have a door hanger for each of the changing seasons. So of course we needed to make a fall hanger. What says fall more than leaves and gold? :) Not much.

Here's what you need:
- canvas or other sturdy fabric
- fabric paint
- hot glue gun
- leaves
- glitter
- glue stick
- dowel rod
- string
Here's what we did:
1. We had already gotten our leaves ready for this when we made our DIY Fall Garland.
2. We started the hanger by cutting our canvas fabric into a rectangle.
3. Next we folded the bottom two corners in to meet each other. Making a point at the bottom.

4. Then we sewed around to hem all of the edges.
5. Next we folded the top down about 2 inches and sewed all the way across.
6. We then inserted the dowel rod and tied on our string to both ends.

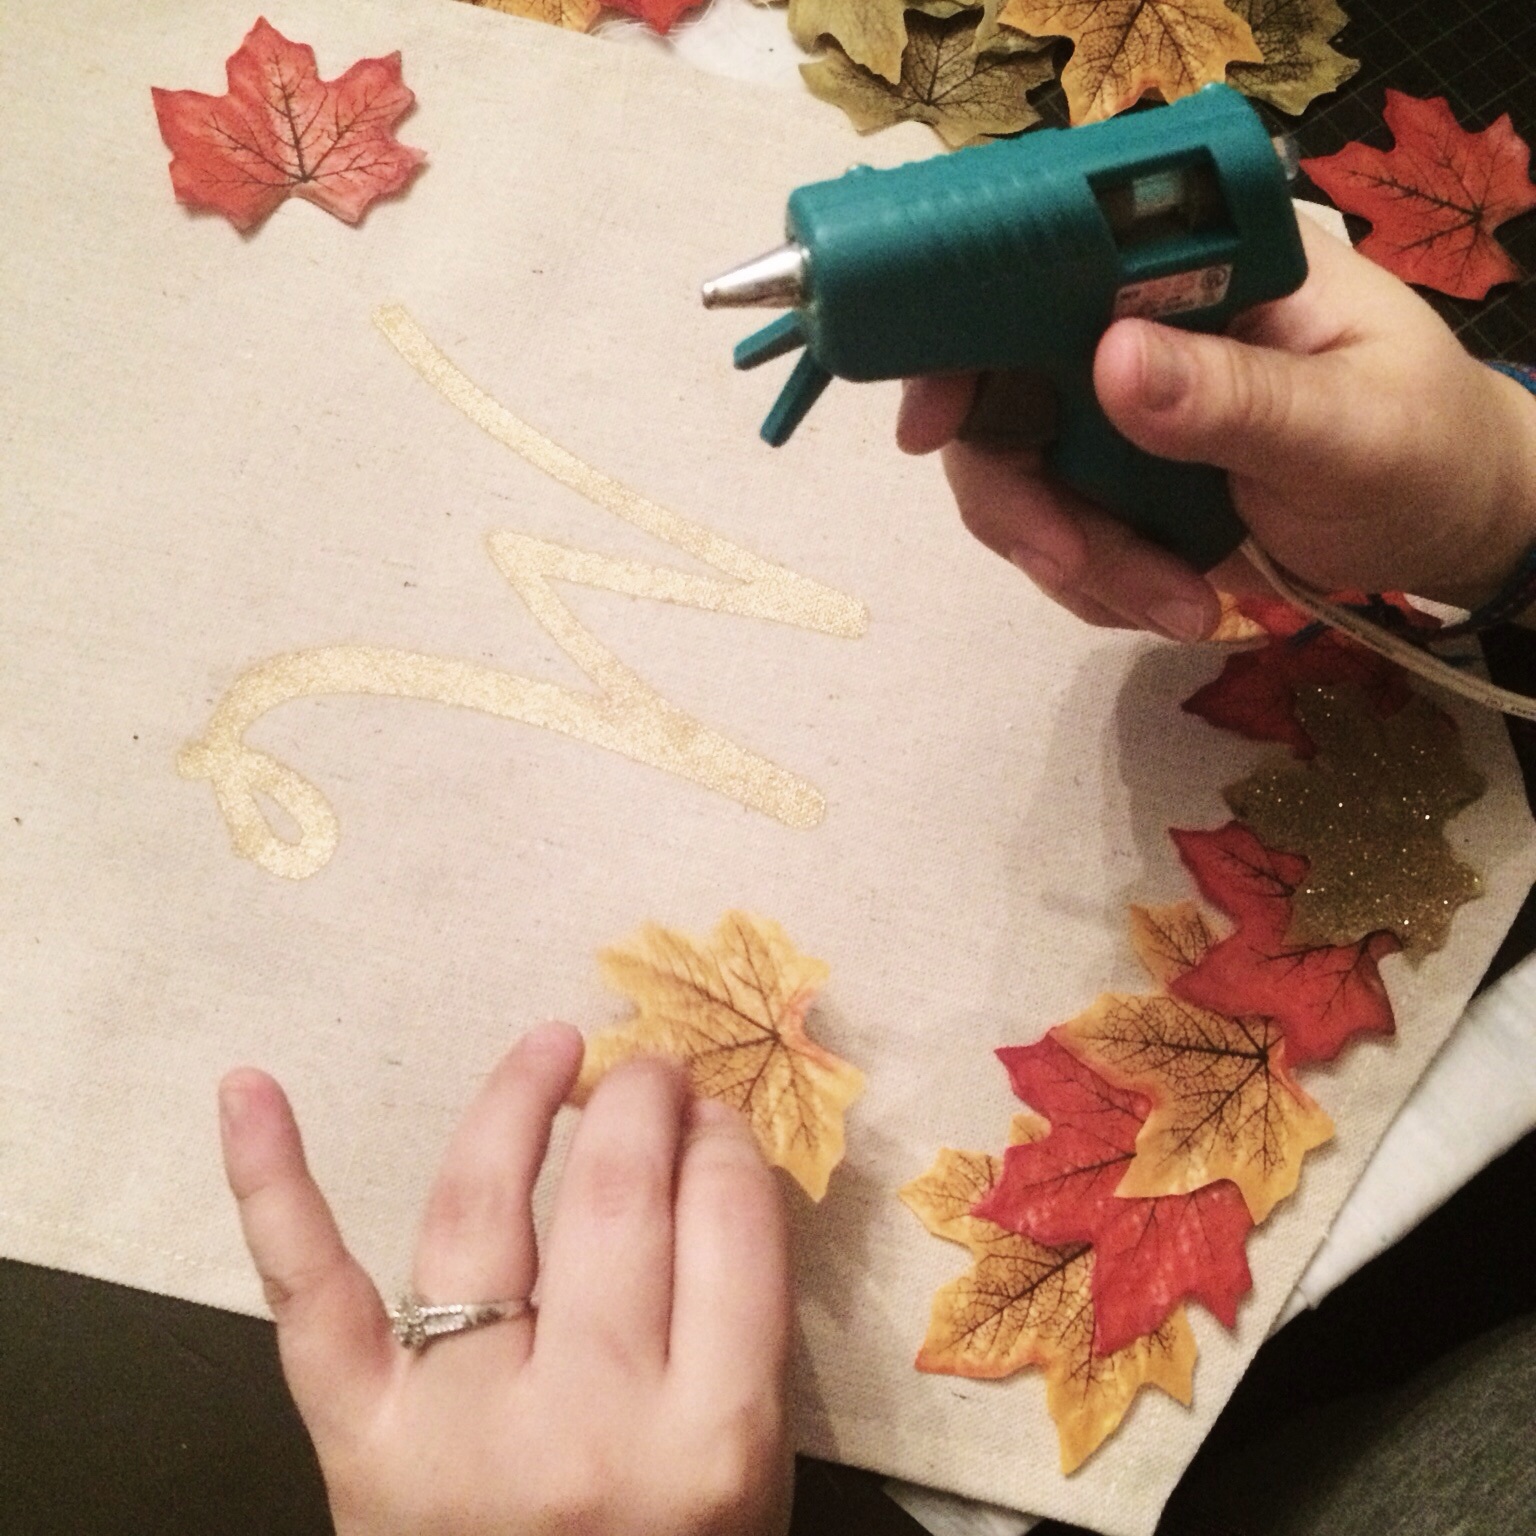
7. Once that was done, we printed out a "W." Carefully cutting out the letter and using the remainder as a template. And then using gold paint, we traced and filled in the letter.
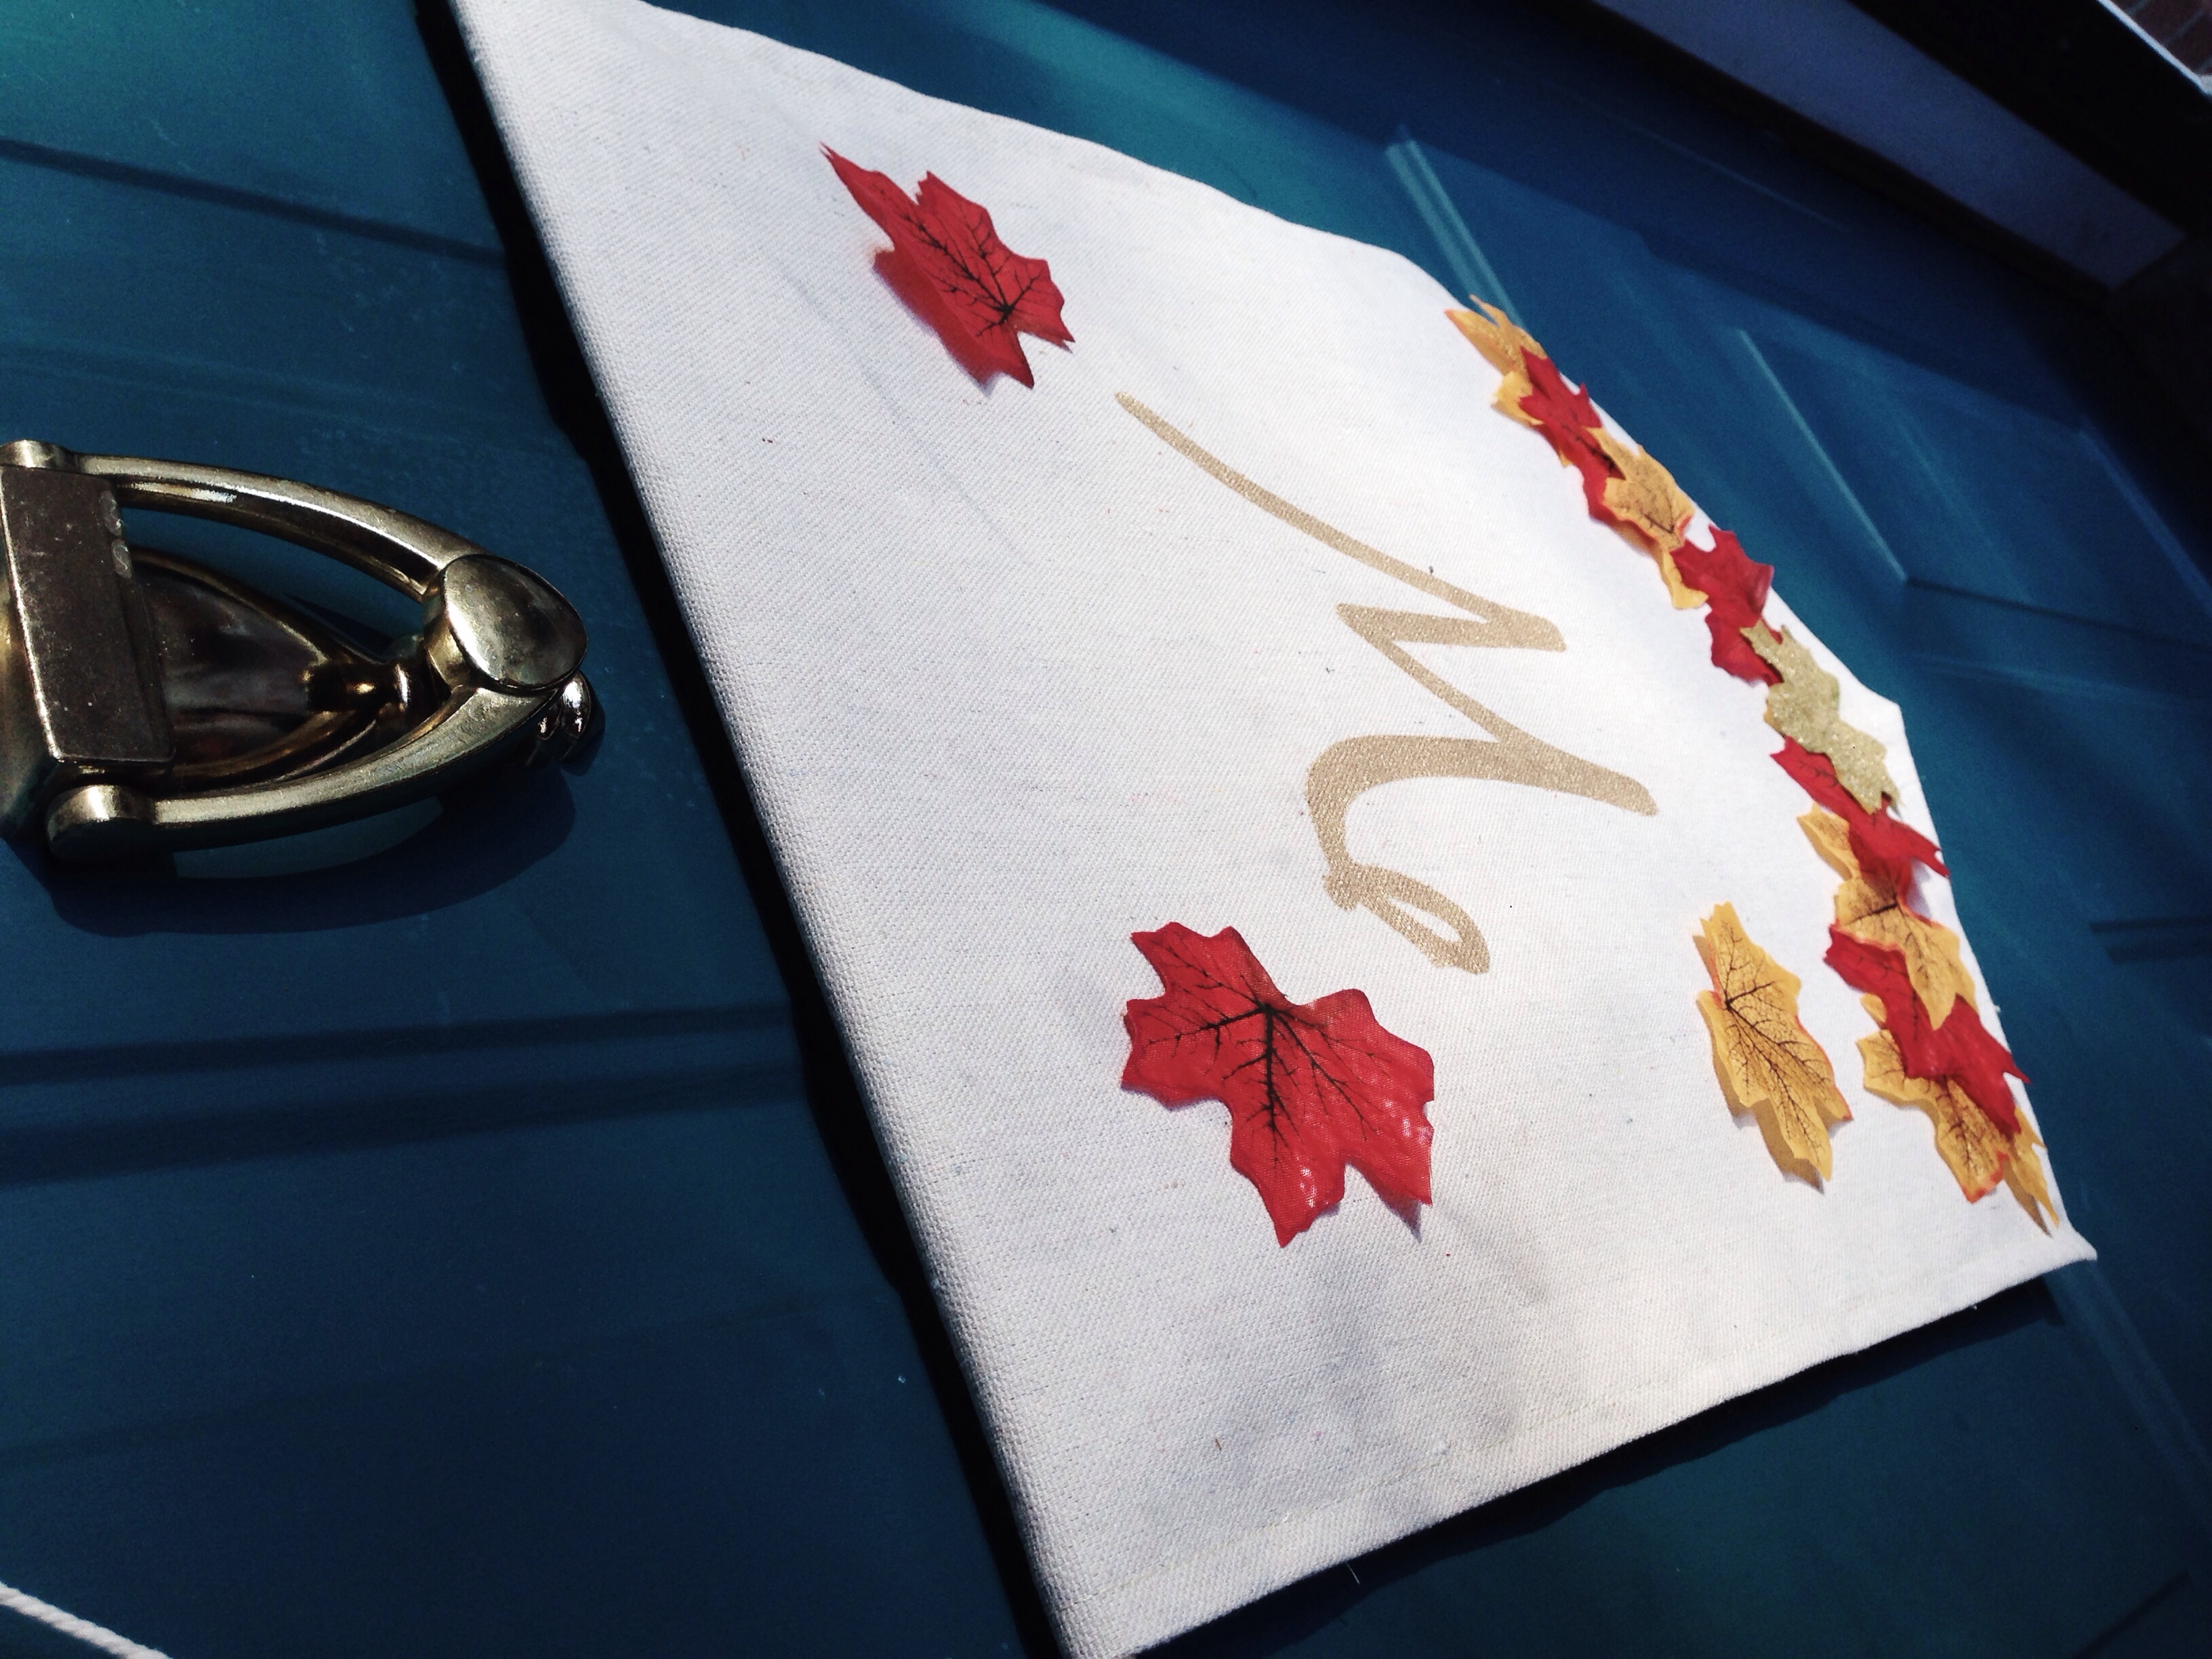
8. Lastly we hot glued the leaves along the bottom and then glued a few randomly about.


And that's it! We have a super cute door hanger that is perfect for fall! We hope you love it!
Happy Monday y'all!
xoxo
Britt + Sky


