Thrifty: Lazy Susan Revamp

It's been quite a while since I posted about any of my thrift store finds. So I thought I'd share :) I picked this lazy susan up at one my typical thrift stores I go to a while ago. I had originally planned on using it on the dining room table, but I change the table runners so often that it just wast actually getting used. So I decided that the craft table was the perfect location. 

Thrifted lazy susan revamped for keeping frequently used craft supplies handy

My initial plan was for their to be nothing on the craft table, but let's face it. I am constantly working on something so there are always craft supplies out everywhere. So that's when I decided that the lazy susan could go in the middle and hold the things that I use most often.  

Thrifted lazy susan revamped for keeping frequently used craft supplies handy

When I bought it, the lazy susan was a dark brown wood, which did not go with the craft table table. So like basically everything else I own, I painted it gold!! I just used two coats of paint and it was ready to go. 

Thrifted lazy susan revamped for keeping frequently used craft supplies handy

So far I love the convenience of it. It holds my frequently used items and it looks cute. So it's perfect! Happy Wednesday lovelies! xo Britt

Naked Birthday Cakes + DIY Toppers

My basic goals in mind for Noah's birthday cakes were cute and simple. I managed to pull that off for his single cake and the guest cake.  

Naked Birthday Cakes + DIY Toppers (click through for details)

The guest cake was so simple. I used two boxed cake mixes to bake 4 round cakes in 8x8 pans. Then I cut the tops off to make all of the layers flat. Using a spatula, I put a decent layer of icing in between the layers.  

For the topper, I purchased a set of cardboard letters at the craft store. I could have easily made the letters myself but chose to purchase them and put that time towards something else. I painted the letters gold and then using rubber cement, glued on the gold glitter. With kabob sticks pushed through the corrugated sections of the cardboard I stuck the letters on the cake. You may need to trim your kabob sticks depending on the height of your cake. 

Naked Birthday Cakes + DIY Toppers (click through for details)

For Noah's cake I actually used a large tomato juice can to bake it in. (Right after I cut myself on it while washing it of course) I had never done it before but I just greased the can really well and decided to go for it. 

I filled the can about half way with cake batter and placed it in the oven. I kept thinking I was going to burn it because it had to cook longer than normal. But it never did. I used a kabob stick to test it to see if it was done. Once it was done I let it cool in the can for a bit and then took it out of the can to finish cooling. 

After it had cooled, I cut of the top to make it even and then cut it into four layers. I then used a decent amount of icing in between the layers.  

For Noah's topper, I bought a number 1 candle at the dollar store. Using the same technique as the letters, I painted it gold and added our signature gold glitter. 

Naked Birthday Cakes + DIY Toppers (click through for details)

These cakes were both super simple but I really love the way they turned out! I hope you love them too!  xo, Britt

Thrifty: Pineapple Revamp

Ever since I started planning Noah's birthday party, I have taken a break from getting the office decorated. But i thought I'd share one of my absolute favorite thrift store finds.  

I actually found this a while back, but just hadn't done anything with it yet. So I decided it was time. 

image.jpg

I got this fun little pinapple tray for $3 at the local thrift store. I knew as soon as I saw it that it would be perfect on my desk to hold little odds and ends. 

image.jpg

I hope you love this thrifty DIY as much as  i do! xo Britt

DIY Sihlouette Box

We are constantly trying to think of fun things to make for Noah and his nursery. We thought it would be super cute to use Noah's silhouette ... well because, have you seen that kid! Ha! No but really. We thought it would be fun to have a little box that could be used for organizing some of Noah's things, but also be used as an art piece of sorts.

Here's what we used:

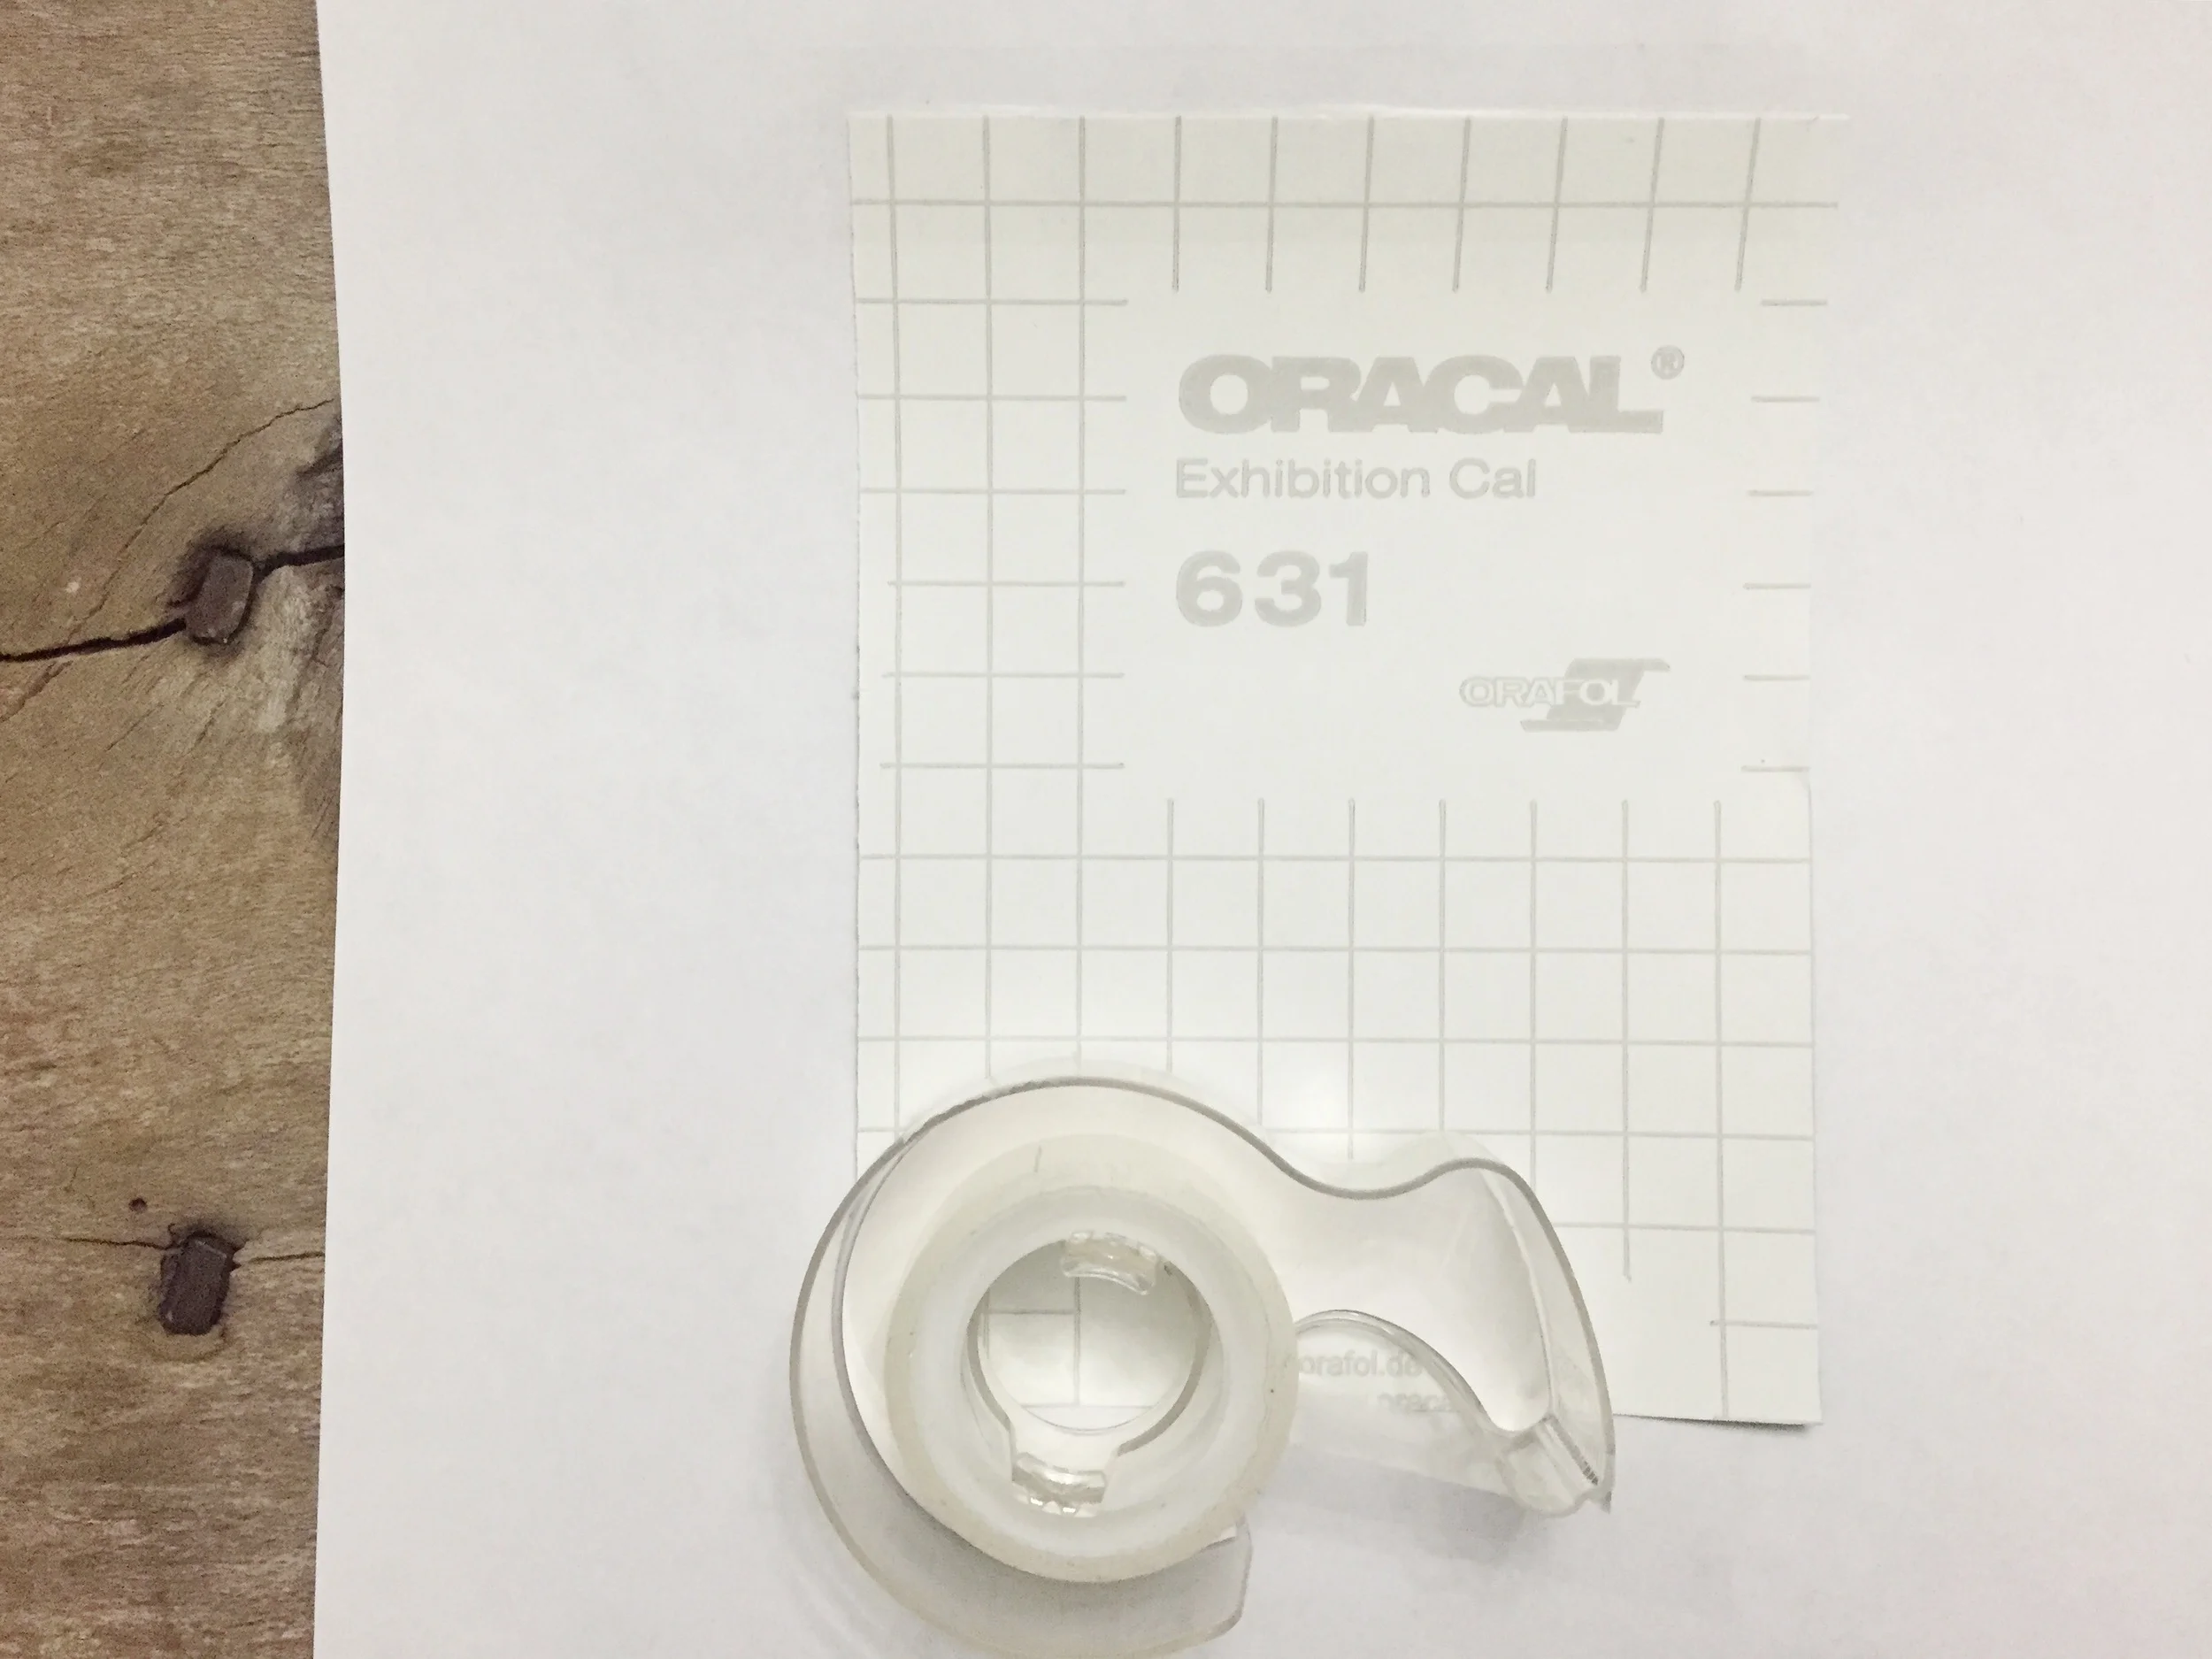
  • wooden contact paper
  • green contact paper
  • small box (we repurposed a gift box)
  • printer
  • paper
  • tape
  • scissors
  • silhouetted photo
DIY Sihlouette Accessories Box

Here's what we did:

1. First we measured and cut a piece of the wooden contact paper to cover our box. 

2. We took a photo of Noah's profile. Using photoshop, we cleaned up the silhouette. Then we printed it out on a regular piece of printer paper. 

DIY Sihlouette Accessories Box

3. Then we cut a piece of the green contact paper a little bit larger than our silhouette. We taped that piece over the printed area on the paper. 

DIY Sihlouette Accessories Box

4. Putting it back in our printer, we reprinted the silhouette. This gave us the ability to cut it out of the green. 

DIY Sihlouette Accessories Box

5. We cut out the silhouette.

DIY Sihlouette Accessories Box

6. And carefully placed it on the box. 

DIY Sihlouette Accessories Box

We LOVE how this turned out! We are already planning on continuing to use Noah's silhouette as he grows. xo, Britt + Sky

DIY Fall Door Hanger

It's fun to have a door hanger for each of the changing seasons. So of course we needed to make a fall hanger. What says fall more than leaves and gold? :) Not much. 

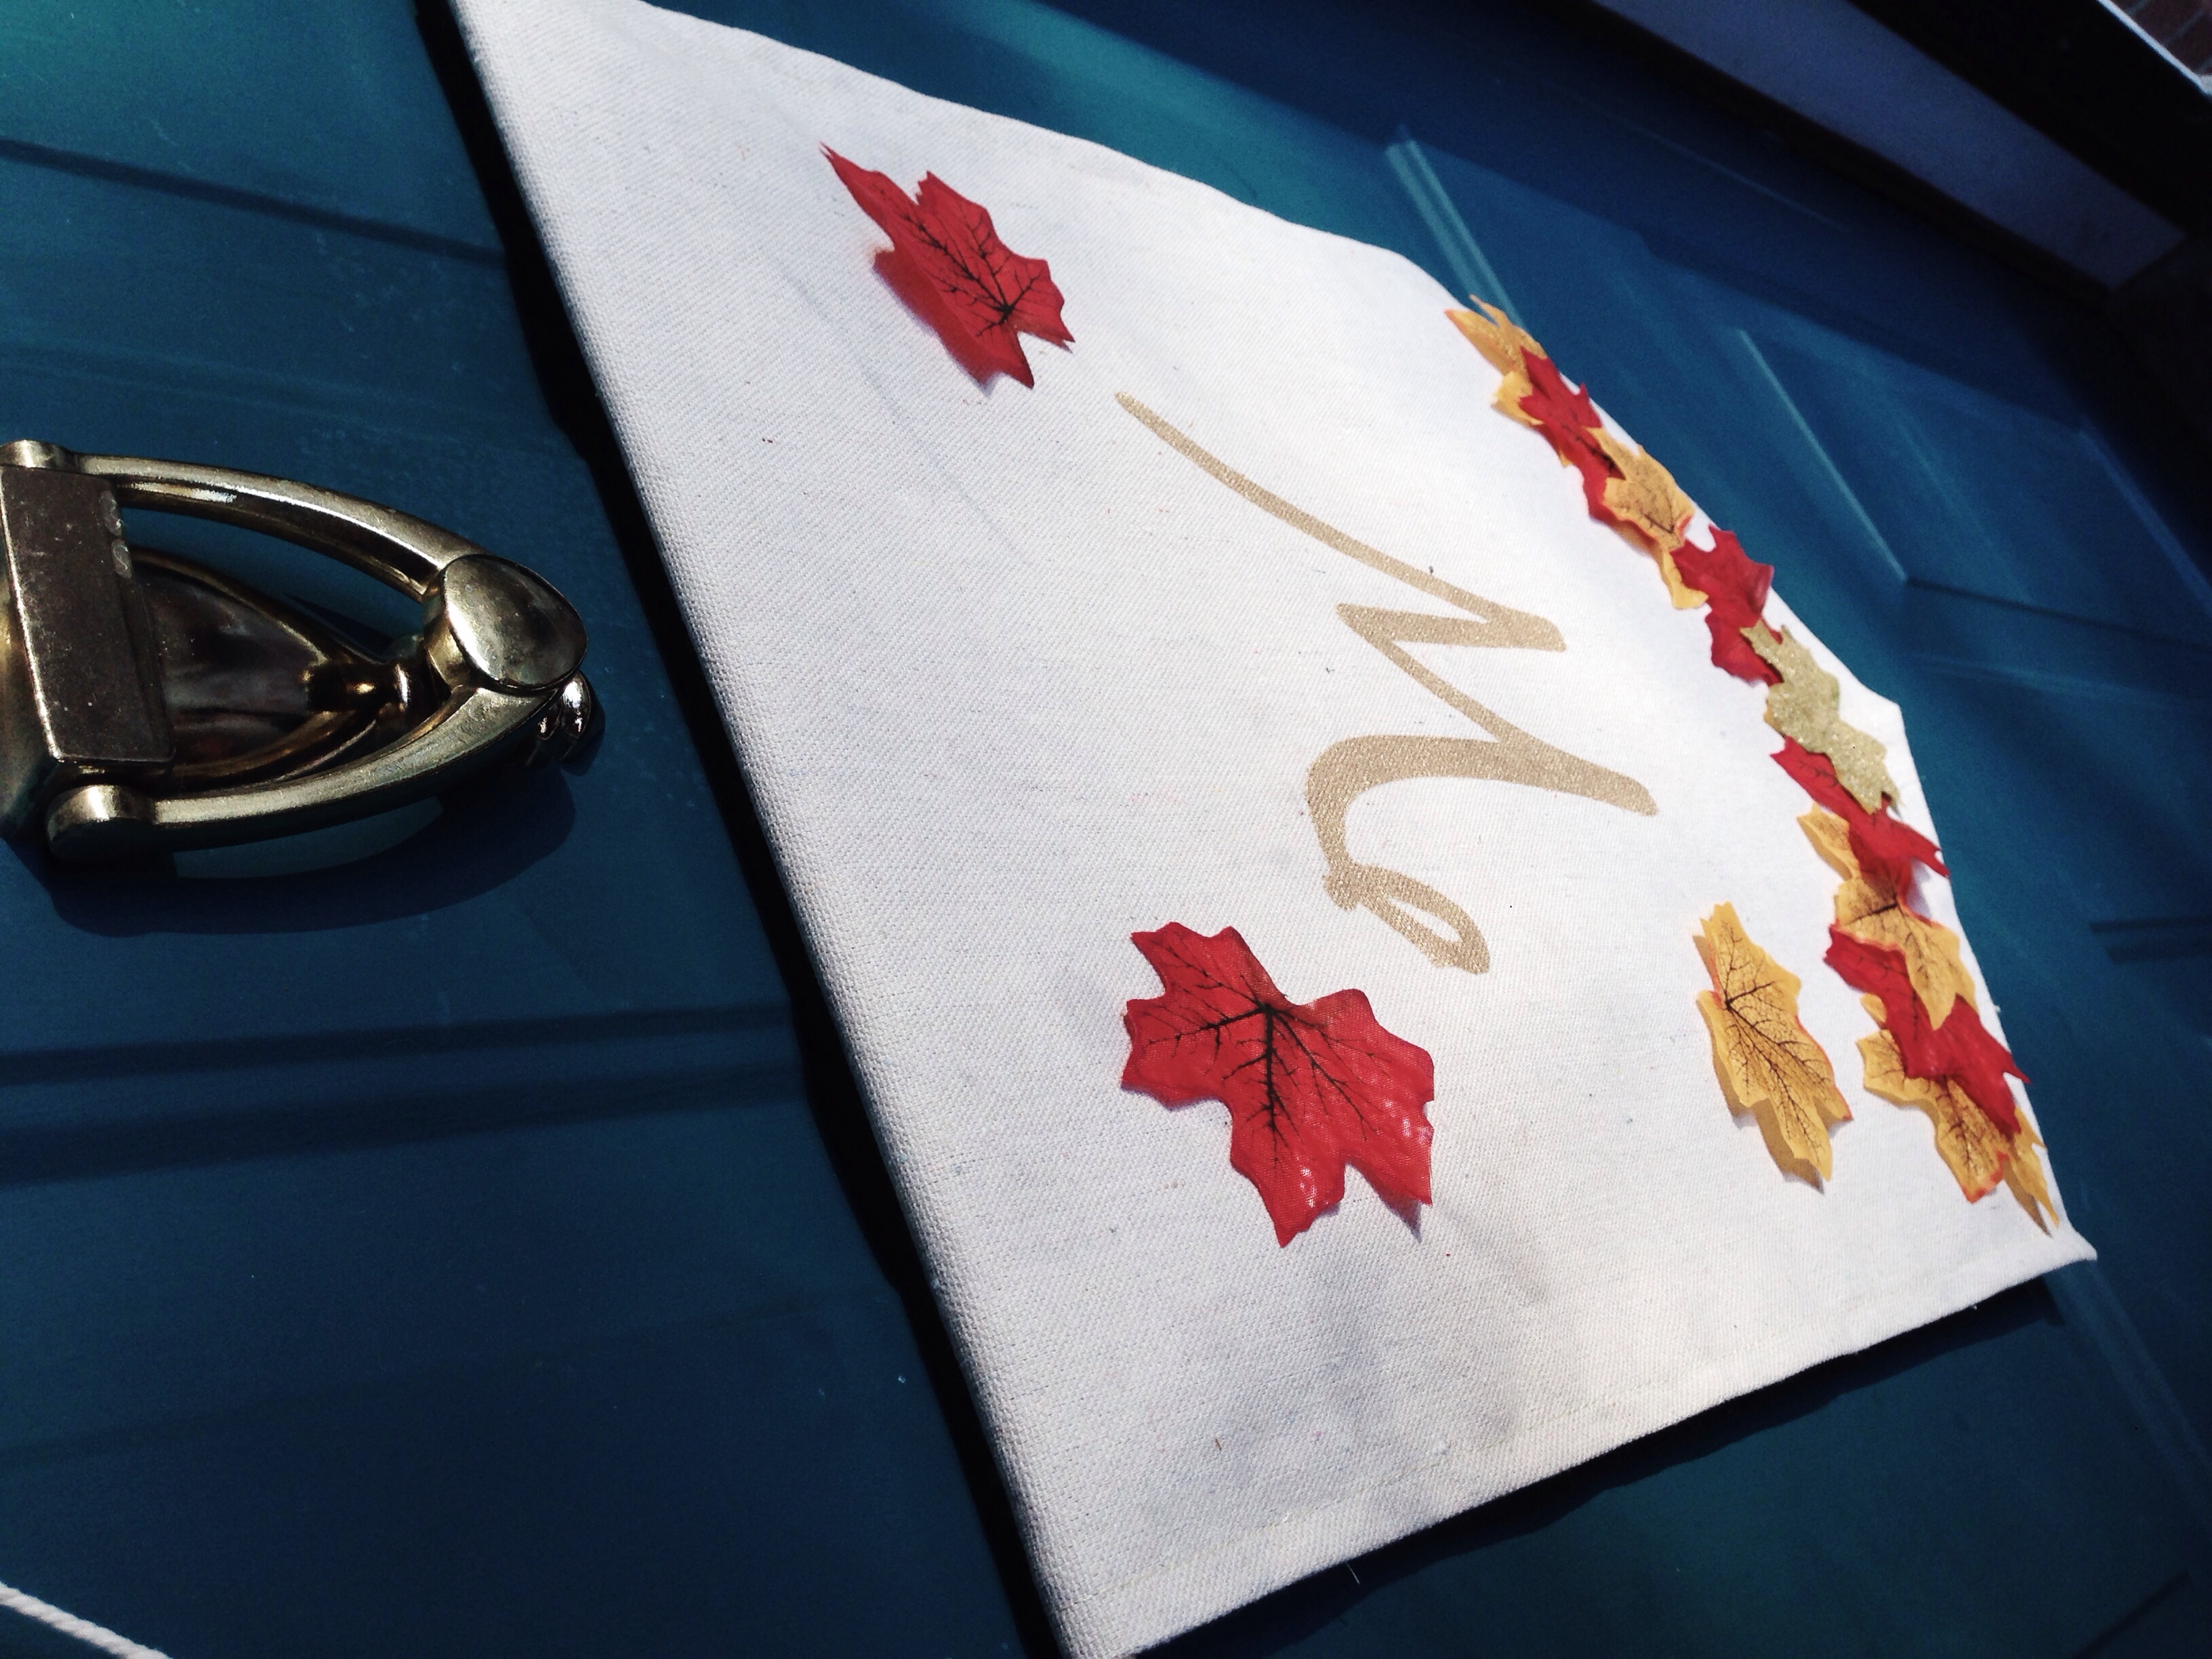
Fall Door Hanger (click through for tutorial)

Here's what you need: 

  • canvas or other sturdy fabric
  • fabric paint
  • hot glue gun
  • leaves
  • glitter  
  • glue stick
  • dowel rod
  • string

Here's what we did: 

1. We had already gotten our leaves ready for this when we made our DIY Fall Garland

2. We started the hanger by cutting our canvas fabric into a rectangle.  

3. Next we folded the bottom two corners in to meet each other. Making a point at the bottom. 

Fall Door Hanger (click through for tutorial)

4. Then we sewed around to hem all of the edges. 

5. Next we folded the top down about 2 inches and sewed all the way across.

6. We then inserted the dowel rod and tied on our string to both ends. 

Fall Door Hanger (click through for tutorial)

7. Once that was done, we printed out a "W." Carefully cutting out the letter and using the remainder as a template. And then using gold paint, we traced and filled in the letter. 

8. Lastly we hot glued the leaves along the bottom and then glued a few randomly about. 

Fall Door Hanger (click through for tutorial)

And that's it! We have a super cute door hanger that is perfect for fall! We hope you love it!

Happy Monday y'all! 

xoxo

Britt + Sky