
We are constantly trying to think of fun things to make for Noah and his nursery. We thought it would be super cute to use Noah's silhouette ... well because, have you seen that kid! Ha! No but really. We thought it would be fun to have a little box that could be used for organizing some of Noah's things, but also be used as an art piece of sorts.
Here's what we used:
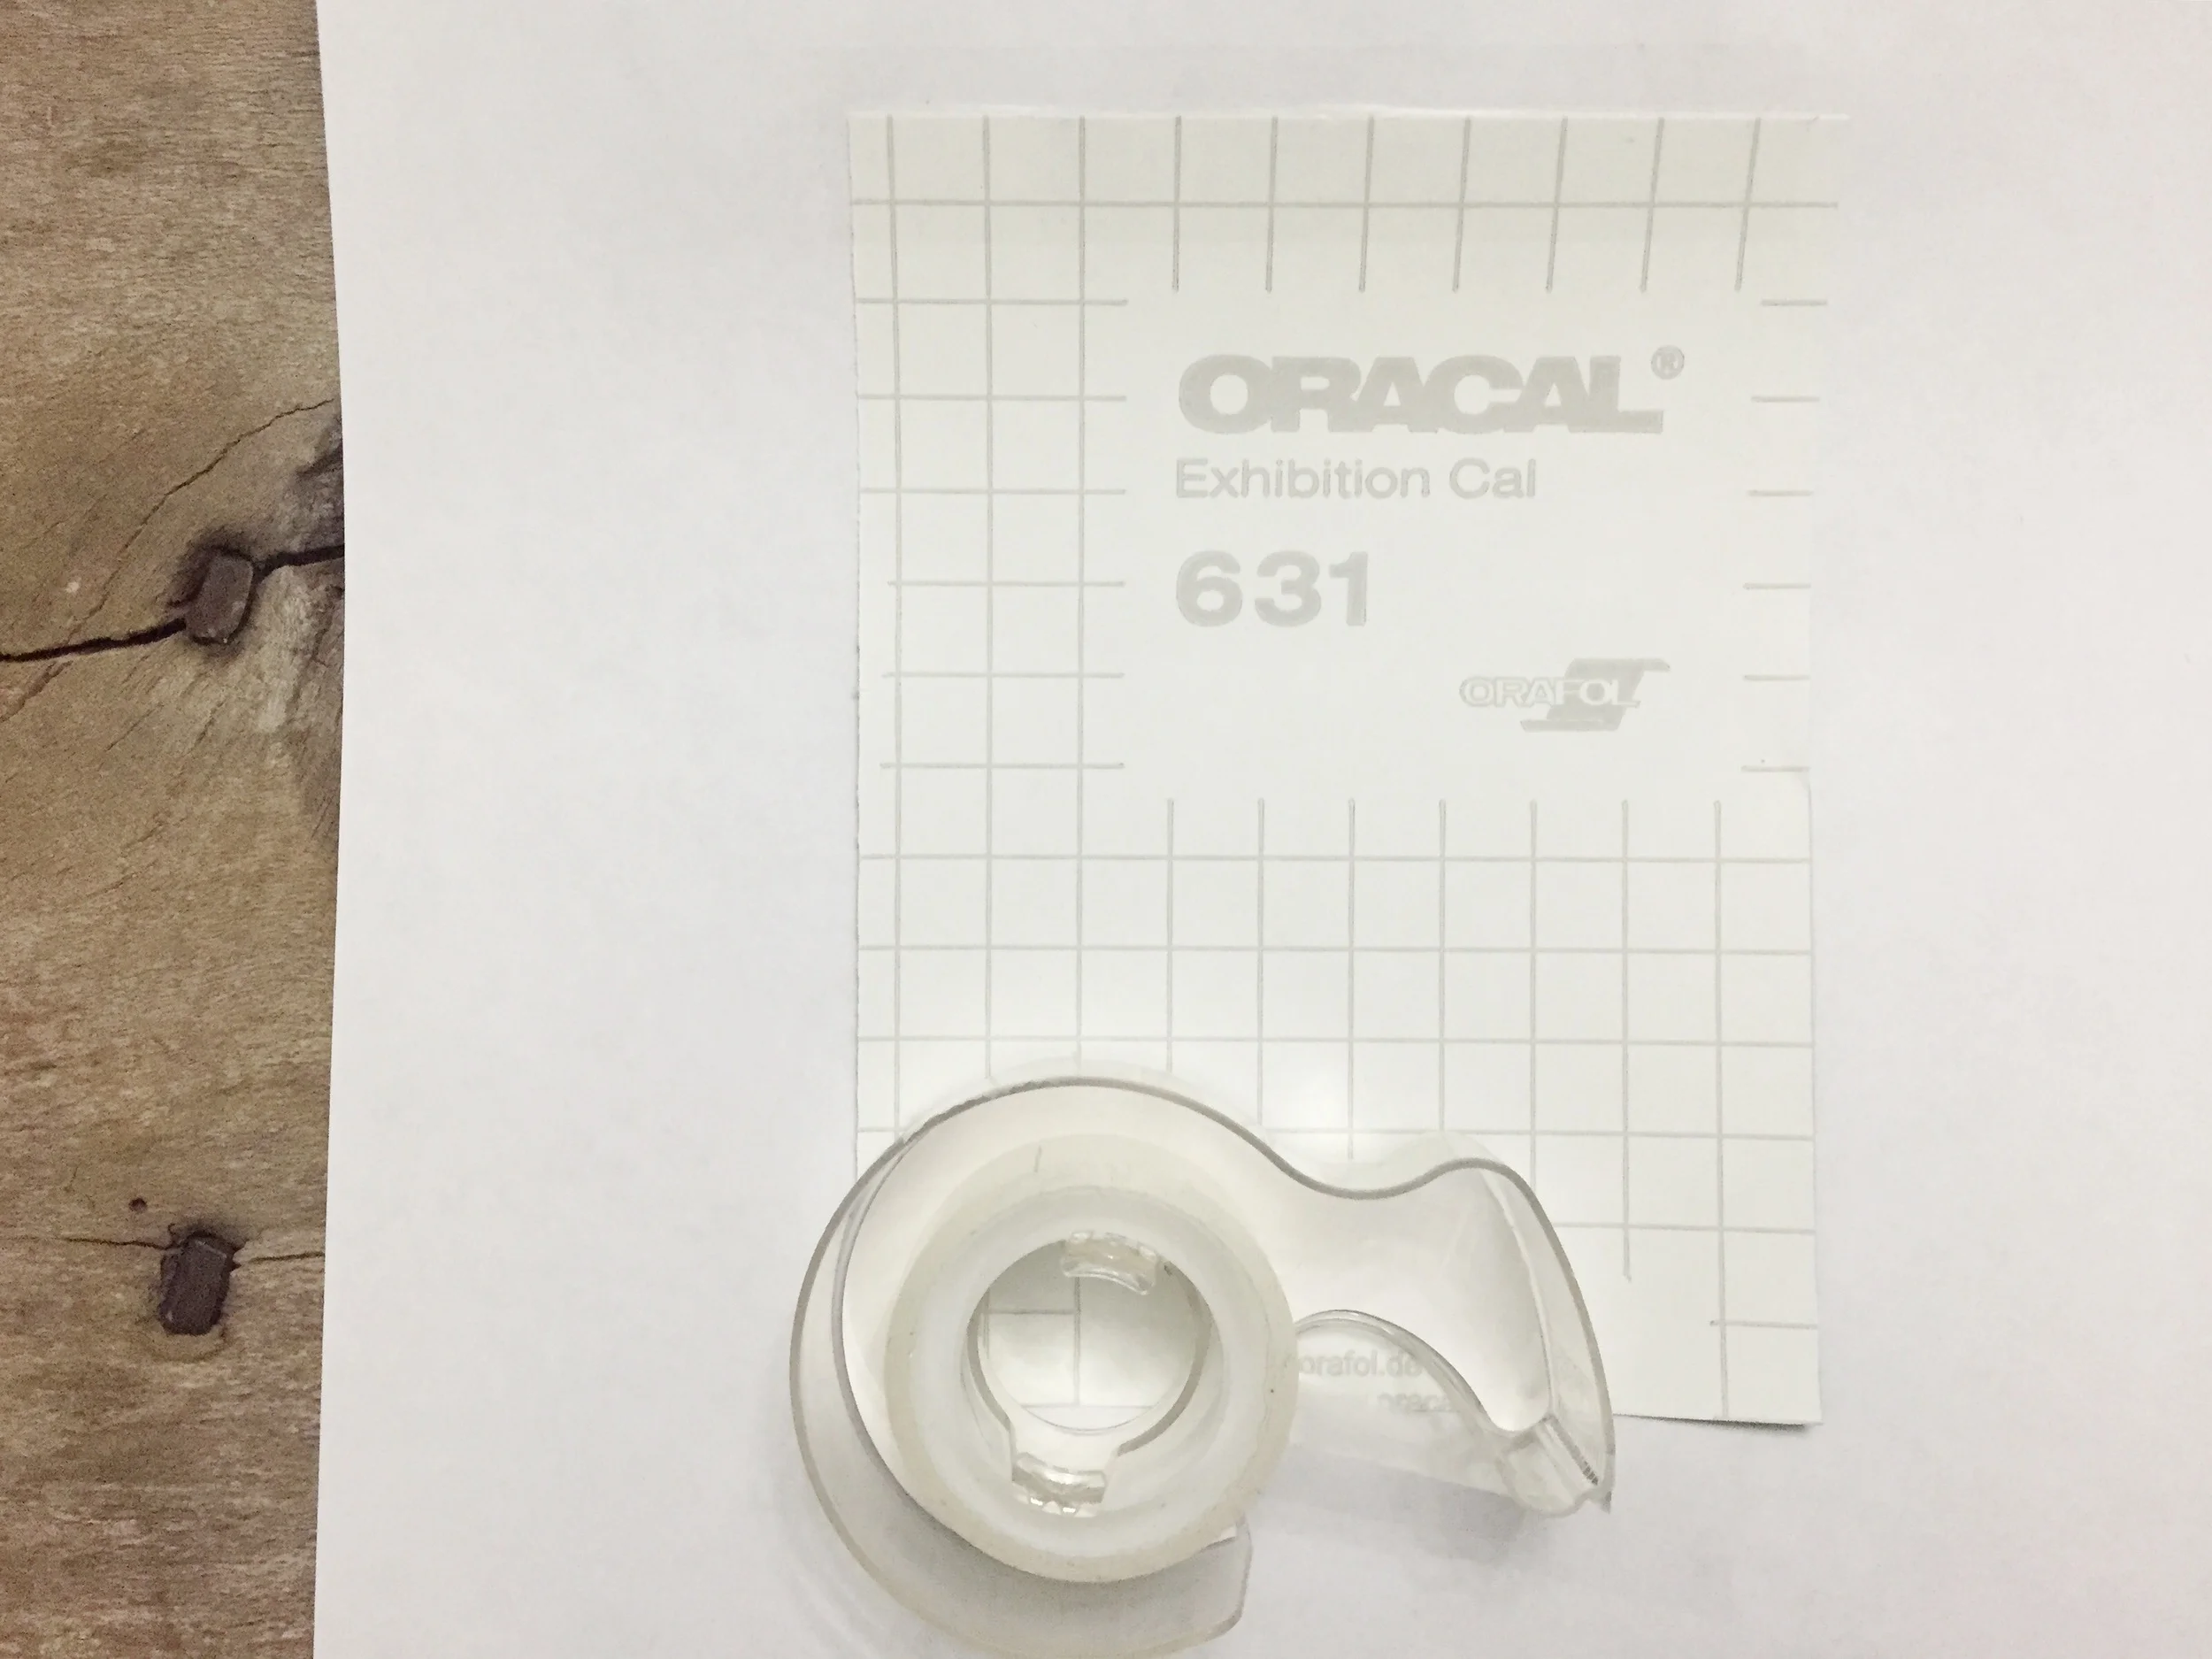
- wooden contact paper
- green contact paper
- small box (we repurposed a gift box)
- printer
- paper
- tape
- scissors
- silhouetted photo

Here's what we did:
1. First we measured and cut a piece of the wooden contact paper to cover our box.
2. We took a photo of Noah's profile. Using photoshop, we cleaned up the silhouette. Then we printed it out on a regular piece of printer paper.

3. Then we cut a piece of the green contact paper a little bit larger than our silhouette. We taped that piece over the printed area on the paper.
4. Putting it back in our printer, we reprinted the silhouette. This gave us the ability to cut it out of the green.

5. We cut out the silhouette.
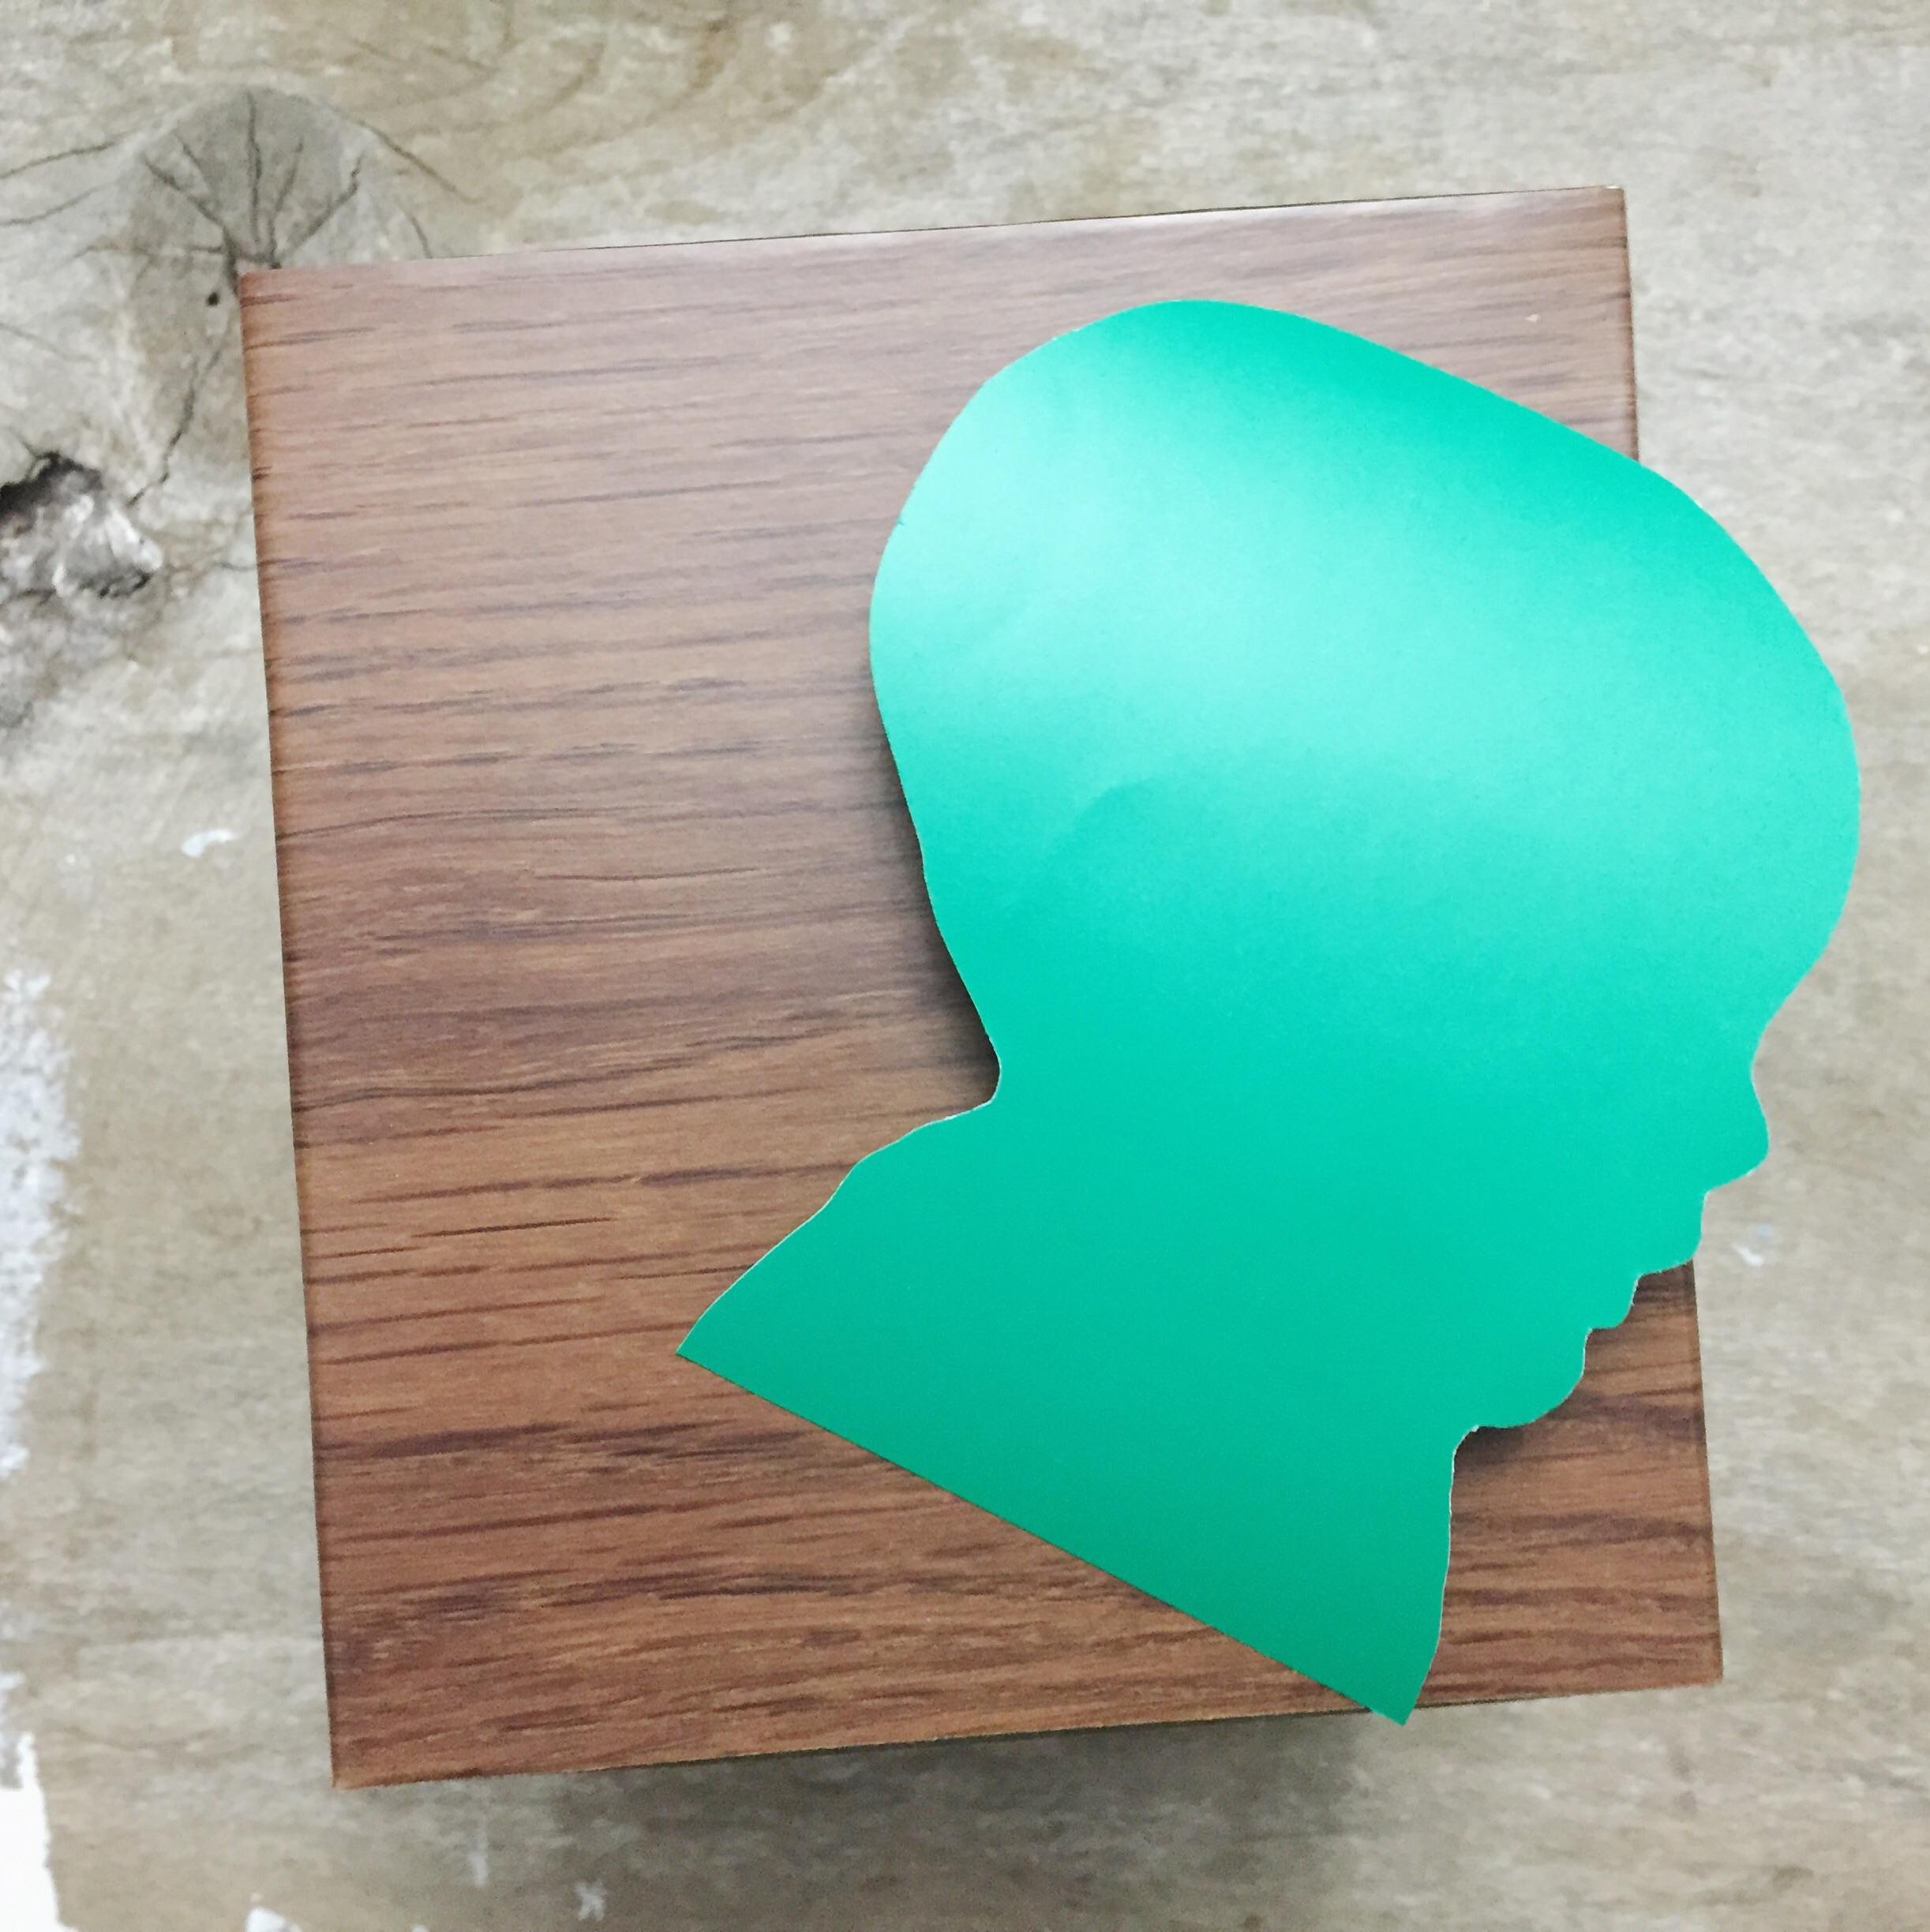
6. And carefully placed it on the box.

We LOVE how this turned out! We are already planning on continuing to use Noah's silhouette as he grows. xo, Britt + Sky


