Thanksgiving Recipes

Apparently since we are adults now we are expected to bring something to Thanksgiving dinner. We weren't sure what we wanted to make, all we knew was we wanted it to be something easy yet yummy. If you seem to be in the same situation or just need a quick recipe to make try one of ours!

Ham + Cheese Dip

image.jpg
  • 2 8oz tubs of cream cheese
  • 2 cups of shredded cheddar cheese
  • 8 oz of ham 
  • 1 box of Ritz crackers 
  1. Preheat oven to 350 degrees.
  2. Set out cream cheese until it reaches room temperature.
  3. Chop ham into small bits.
  4. Once cream cheese has reached room temperature, or is soft, mix in the chopped ham and shredded cheese (don't use all the cheese so you have some to sprinkle on the top) with a mixer.
  5. Spread ham and cheese mixture into a 8 x 8 pan.
  6. Sprinkle more shredded cheese on top.
  7. Bake for 30 minutes.
  8. Let cool for 5-10 minutes and then serve with Ritz crackers.

We have used this recipe in our family for a long time now. It always turns out great and gets eaten really quickly. You can always change the recipe to your liking. If you like cheese, add more. Or if you like ham, you can also add more. This recipe is simple and usually a hit with everyone!

image.jpg

Cranberry Salad

image.jpg
  • 3 cups fresh or frozen cranberries (thawed)

  • 1 can (20 ounces) unsweetened crushed pineapple, drained

  • 2 cups miniature marshmallows

  • 2/3 cup sugar

  •  2 cups heavy whipping cream

  • 1/4 cup chopped walnuts

  1. Using a food processor, chop your cranberries.
  2. Mix your cranberries, sugar, and pineapple in a large mixing bowl. 
  3. Let sit in the fridge for at least three hours. Its even better if you can leave it overnight.
  4. Mix in your marshmallows, whipping cream, and walnuts.
  5. And you're done! :)

This is a super simple and delicious recipe that is perfect for the holiday season.

image.jpg

If your family has told you it's time to grow up and bring something to Thanksgiving dinner, these are perfect. They're simple, quick, and very yummy! Have a wonderful Thanksgiving!!

xoxo,  

britt + sky

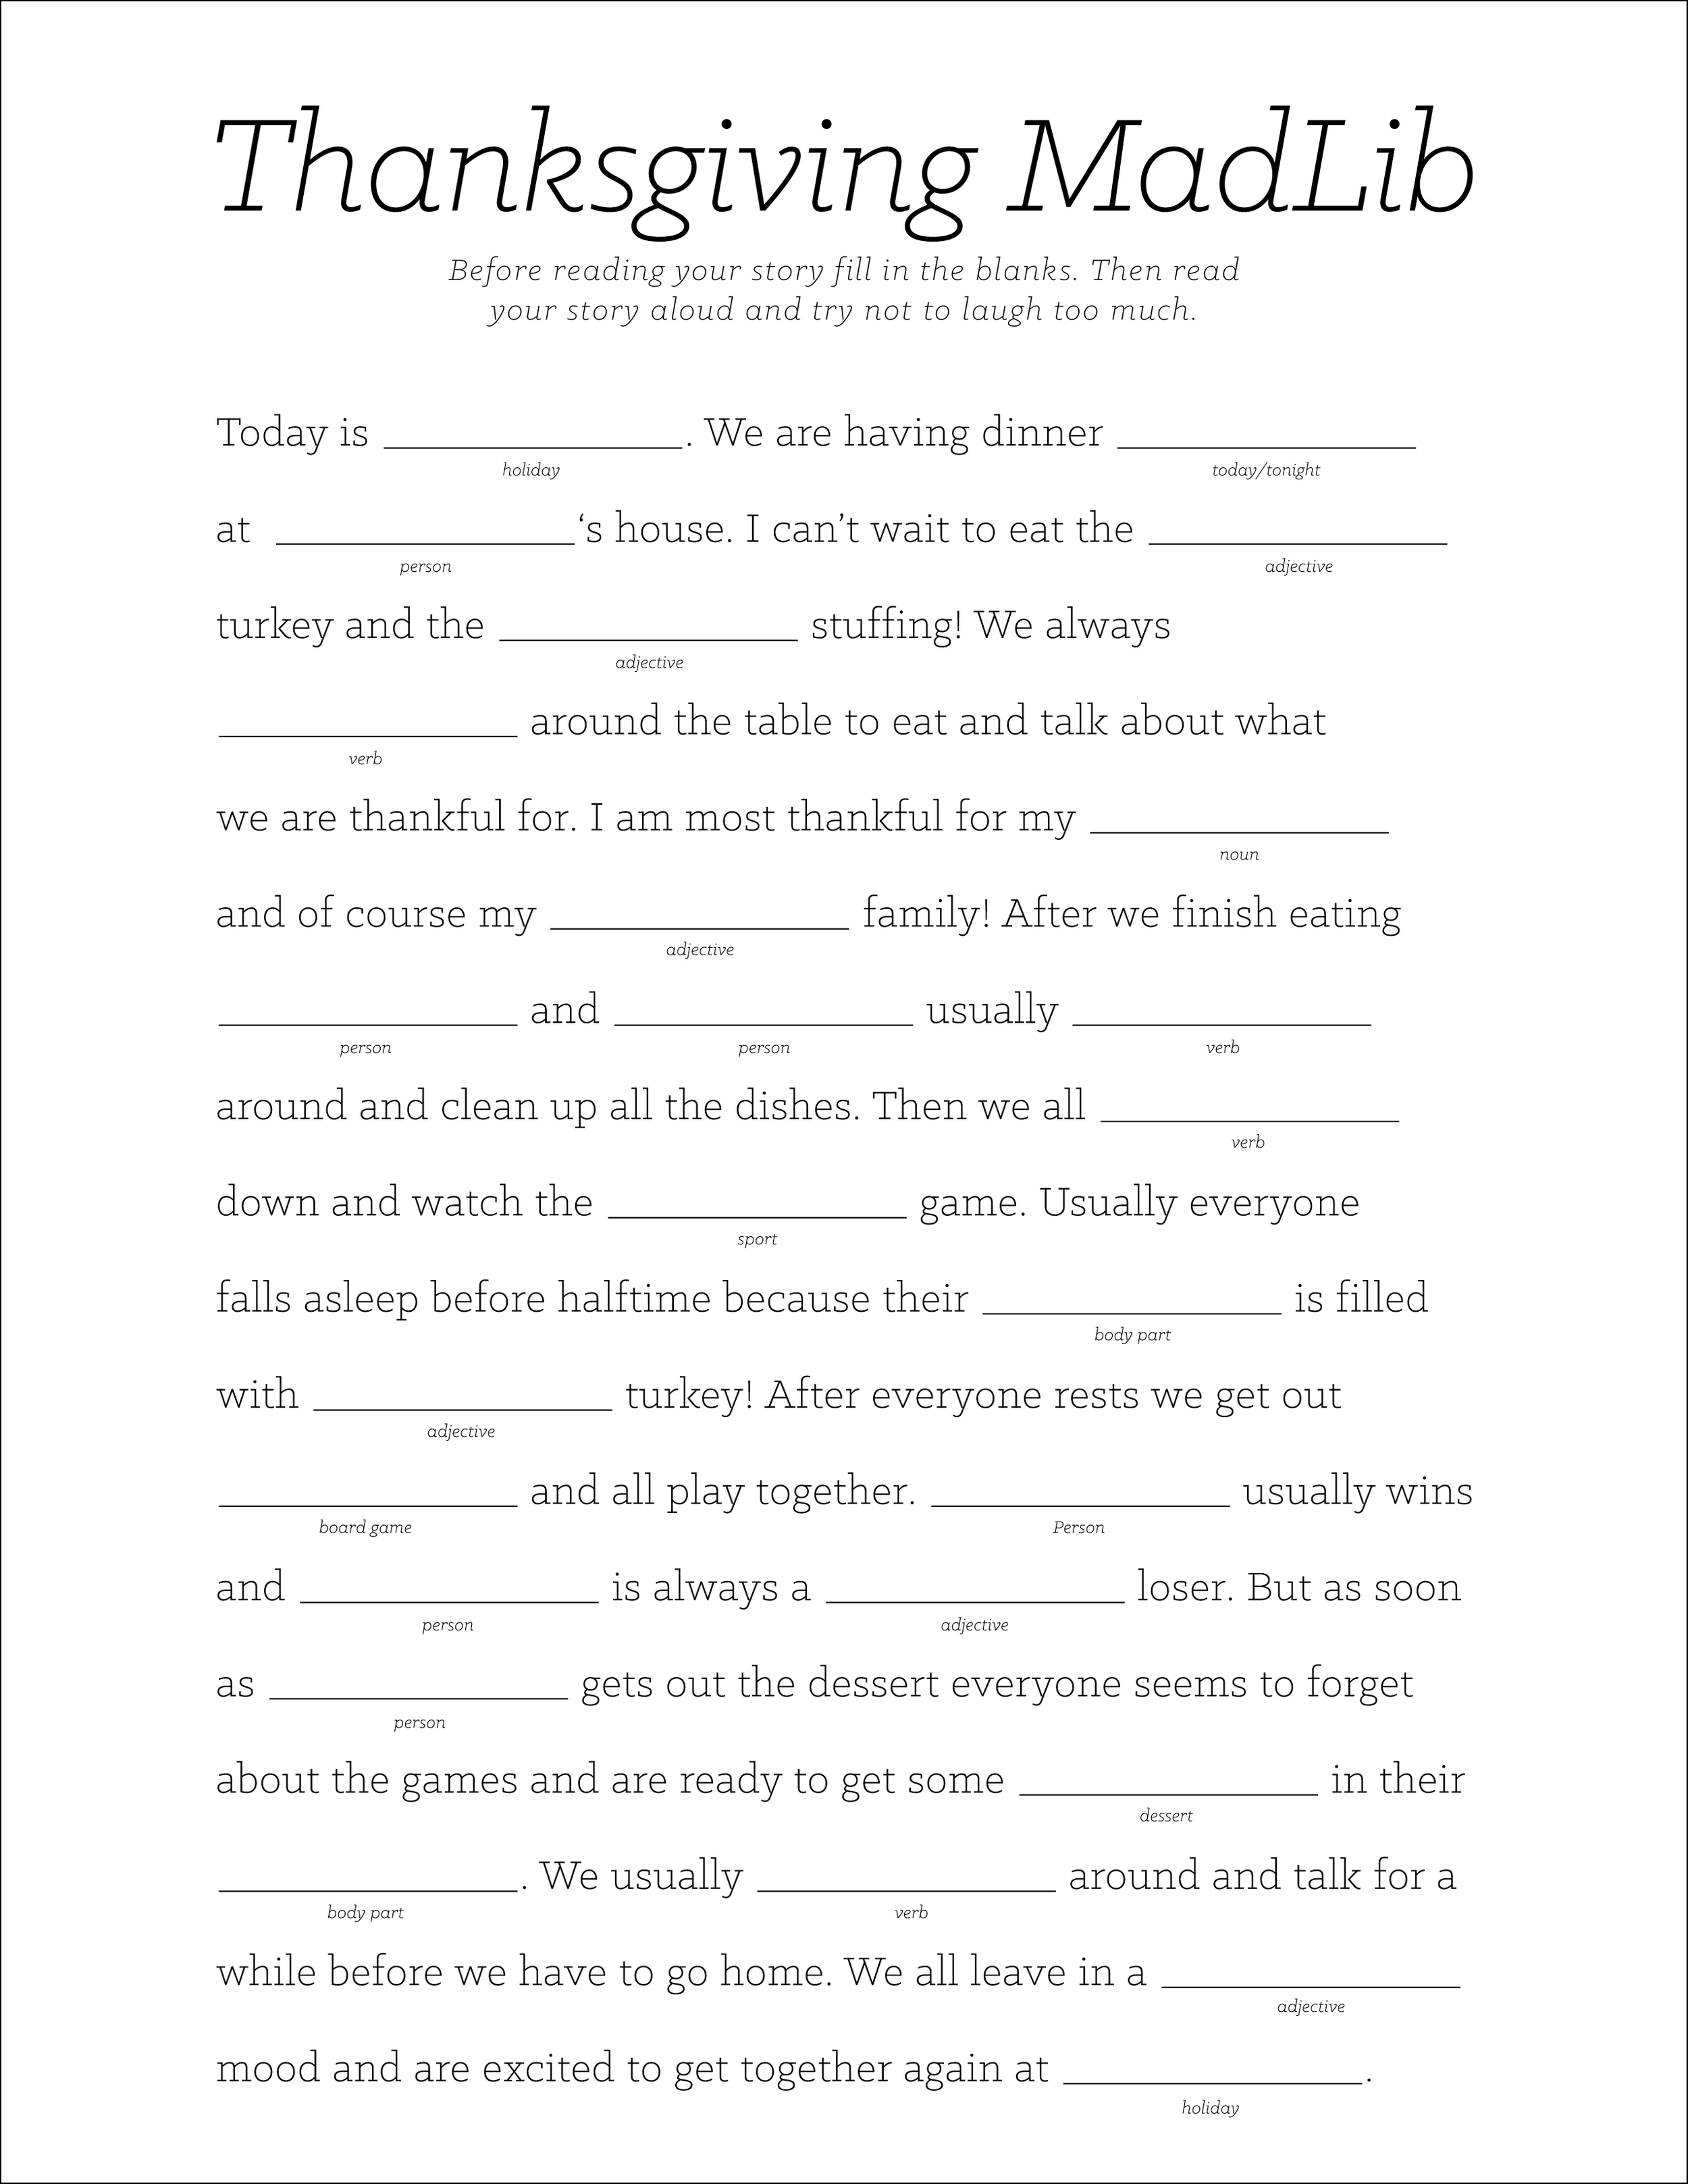
Thanksgiving MadLib

Today we have a fun MadLib you can print for all your Thanksgiving guests. It's always fun to fill these out with the family and then read everyone's out loud. This is a great way to get everyone to hang out even after the food is put away. If you think your family would have a good laugh with this crazy MadLib just download and print here!

xoxo
Britt + Sky

Thankful Printable

Continuing in the Thanksgiving spirit we have free printable for you today. Its perfect for you to print out and have everyone fill in what they are thankful for. Our goal is to make sure that everyone (ourselves included) keeps a thankful spirit and truly appreciates what they have. 

Print them out. Cut them out. Be thankful. :)

Happy Monday lovelies!

xoxo
Britt + Sky

DIY Thanksgiving Placesetting Ideas

Setting the table for your Thanksgiving dinner may be the last thing on your mind if you are worried about prepping an entire meal for your guests. We have three simple yet lovely ideas for setting each placesetting. All three use items that we happen to have around. 

DIY Thanksgiving Placesetting Ideas (click through for details)

The first placesetting was made by using burlap and fabric that we have saved in our craft closet. We happened to have several large squares of burlap left from Brittnee's wedding decorations. If you had any neutral fabric or even just neutral colored placemats laying around either would work perfectly. 

We love the pop of color with the fabric on top of the burlap. You could do all of your placesettings in the same color fabric. Or it could be very fun and cute to do different and coordinating colors for all of them. All we did was iron our fabric and cut a rectangle that was a little bit smaller than out burlap. 

We recycled our pumpkins from our DIY fall centerpiece for the name cards. All we did was add glitter to the stem of our already white pumpkins. Then we cut some chipboard into rectangles, wrote on the names, then placed them on the pumpkins by sticking a pin through on the two sides. To dress it up a bit more we put the pin through a sequin before putting it through the chipboard. 

DIY Thanksgiving Placesetting Ideas (click through for details)

For the second placesetting, you need burlap, cloth napkins, twine, small flowers and card stock. We had all of these things on hand as well. Again you can use burlap if you'd like. Or if you have a neutral fabric or neutral colored placemats they will work too. 

Fold your napkin and lay that on your plate. Then using twine, other cute string would work too, wrap your silverware together. We had some cute little fake flowers that we cut apart and used as a little embellishment for the silverware. 

We cut a rectangle out of card stock and folded it in half. Instead of having name cards for this one, we decided it would be fun for each person to write what they are thankful for.  

DIY Thanksgiving Placesetting Ideas (click through for details)

Our third and final placesetting is the most simple, but could be so much fun for you or even your kids!!

You can buy a roll of craft paper at the dollar tree. We always have some laying around because we use it for so much. We cut out the number of rectangles we needed. And then used washi tape to put them in place. This also helps because the corners tend to roll up. Then we traced a large dinner plate. After that we drew on fun embellishments and wrote "be thankful." This is one that even the kids could help with. It could also be fun to write different sayings on each one or each persons name. 

Each of these ideas are simple and quick for you to make, but they are so fun and cute and we know your guests will be so impressed. We hope you get inspired to dress up your table for Thanksgiving! 

Make sure you show us! Just follow and tag us on FacebookTwitter, + Instagram. 

Have a great weekend!!
xoxo
Britt & Sky

Give Thanks Jar

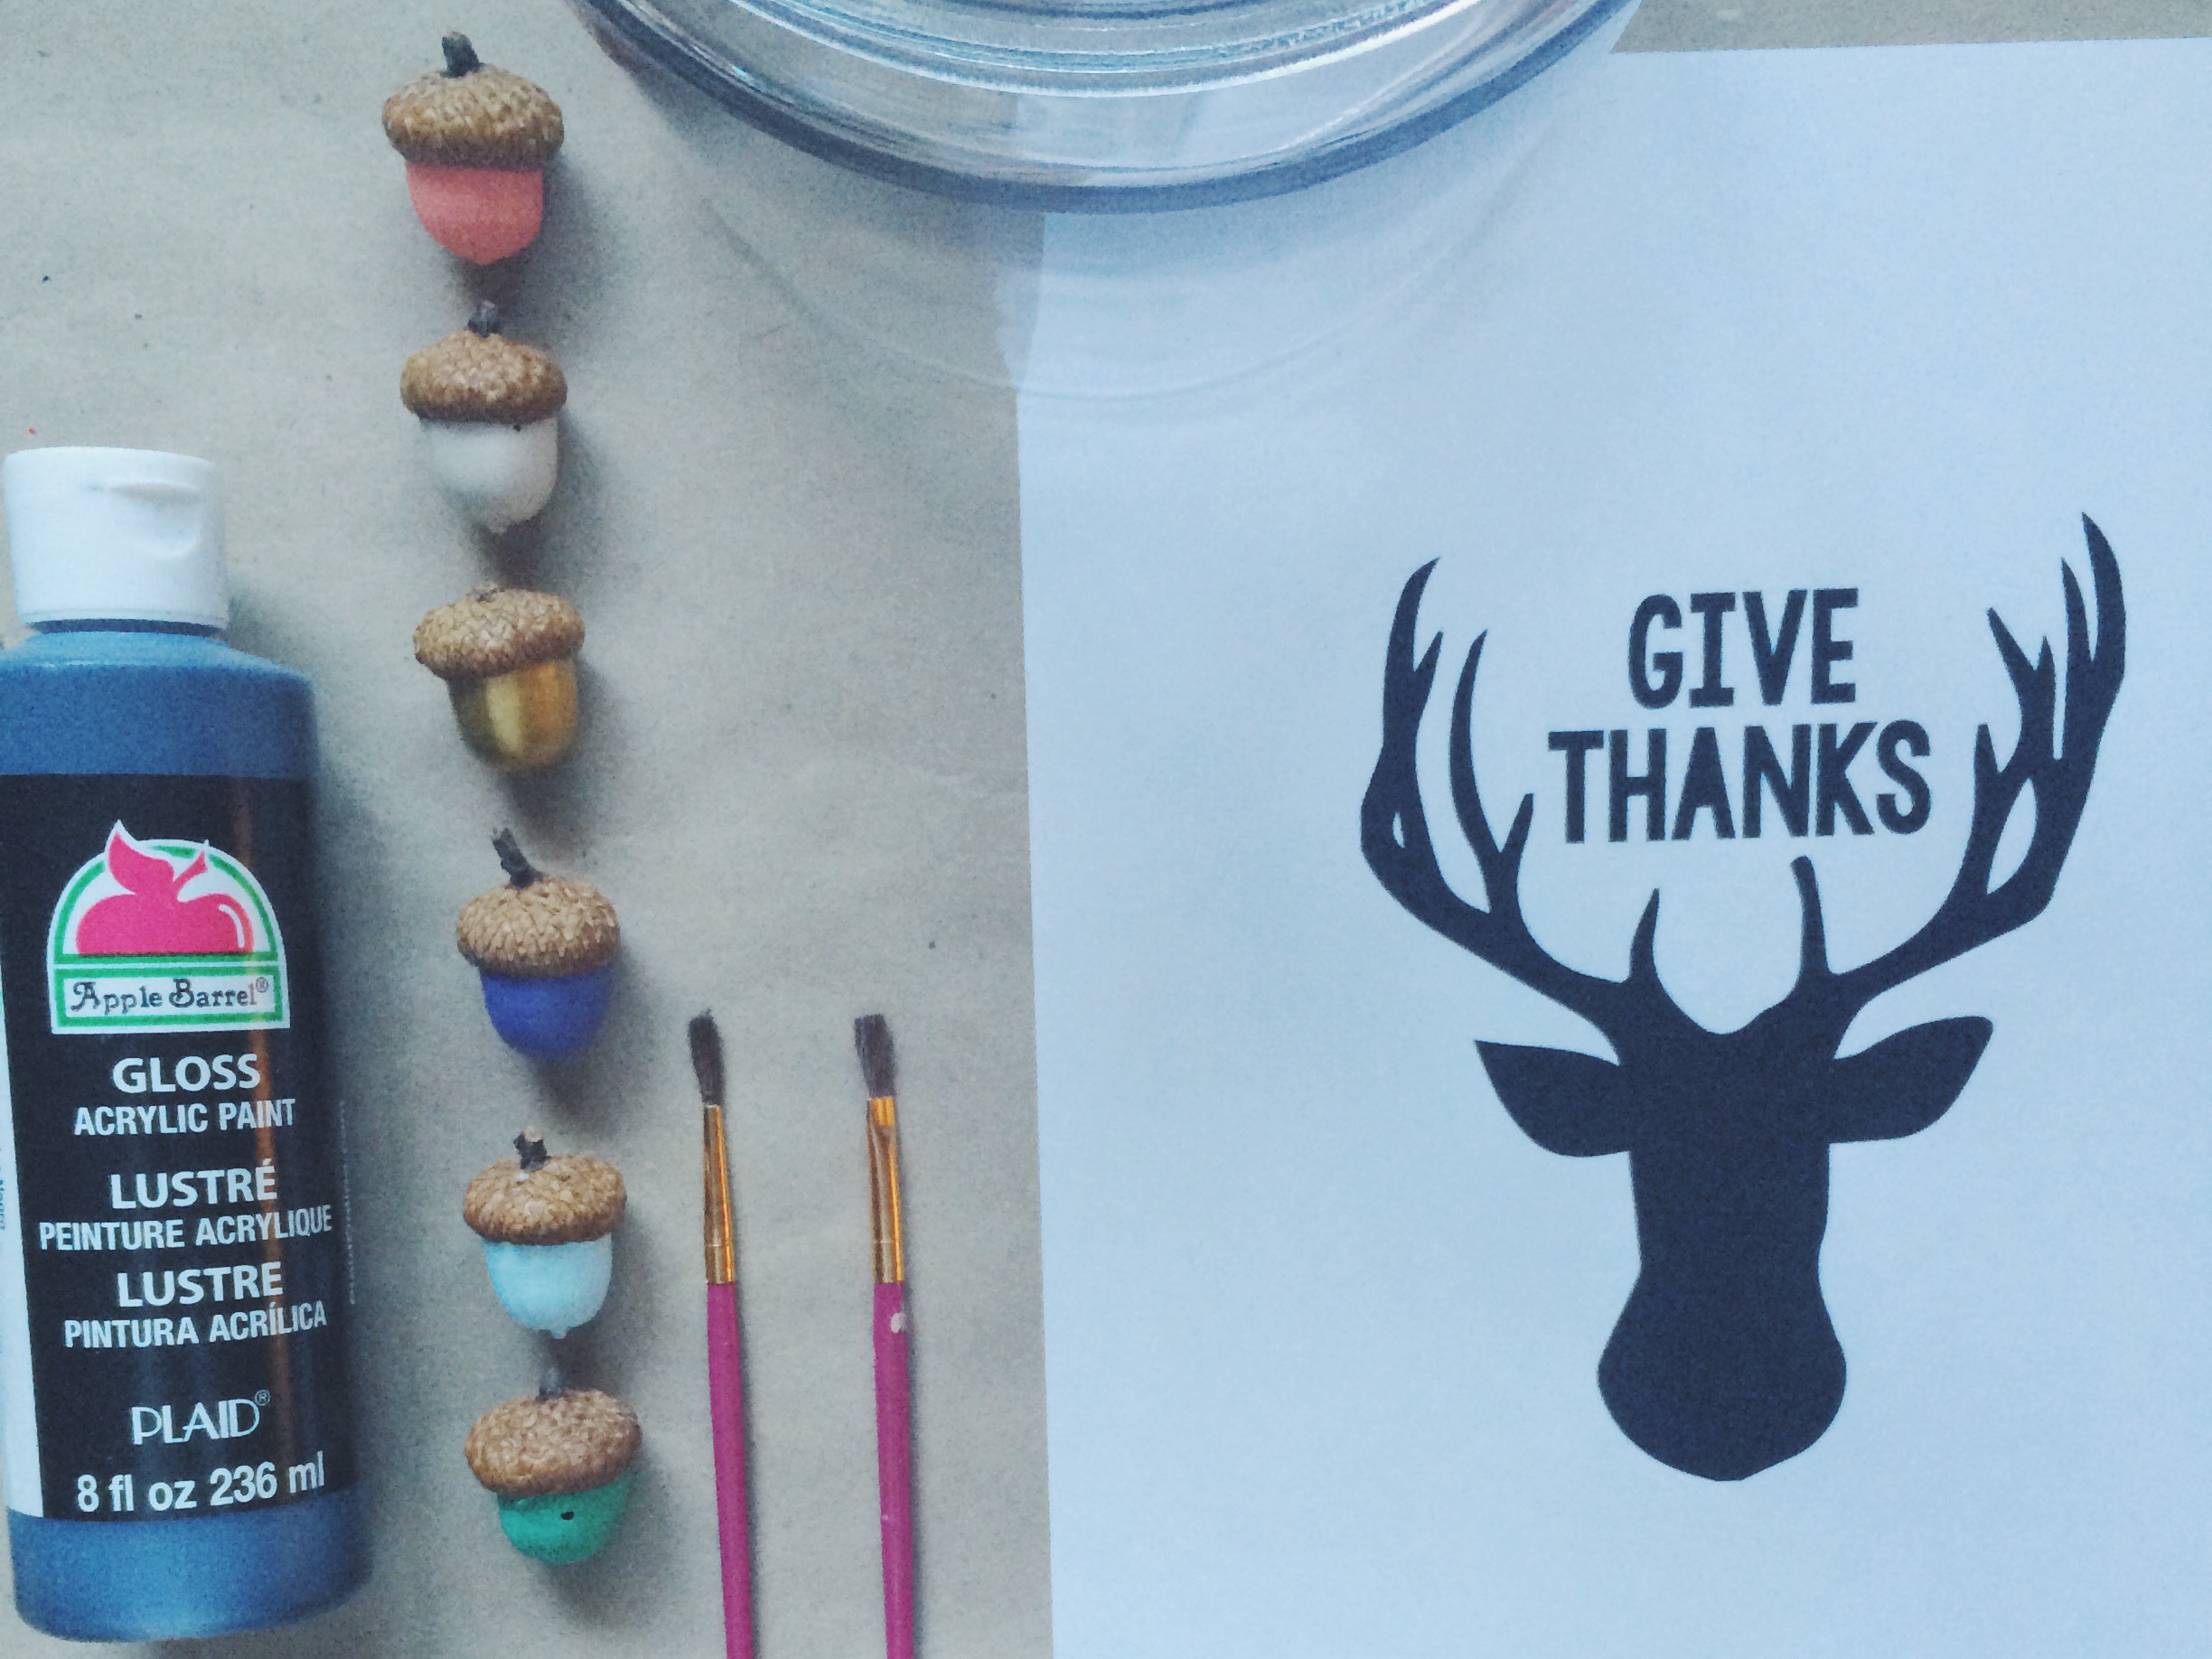
It's Thursday and just like we promised we have a use for the painted acorns! This is a really great project to make when decorating for Thanksgiving. It's also very simple and inexpensive. 

All you need to get started is:

Gives Thanks Jar. Click for instructions
  1. Print our deer head printable onto sticky backed paper. (Link above)
  2. Cut out the deer head and letters with the x-acto knife.
  3. Stick the cut out of the printable onto the jar. Make it center on the jar. (Depending on the size of your jar, you may have to seperate the words from the dear head, like we did)
  4. Trace the dear head and letters with the sharpie.
  5. Paint the deer head and letters with the black paint. Let the paint dry completely.
  6. Add your painted acorns to the jar and that's it! Decoration complete. :)
Gives Thanks Jar. Click for instructions

We were super happy with how this project turned out. Ours looks awesome with our other fall and Thanksgiving decorations. We really suggest you try it! It's super easy, cheap, and cute!! 

Have a great Thursday lovelies,

Britt + Sky